Access Control System with Raspberry Pi, RFiD and AWS Rekognition
Whenever I hear the ‘IoT’ word, the very first things coming to my mind are Raspberry Pi and AWS. I love to use both as they are perfect to quickly build proof-of-concept solutions. Being very much into image processing with neural networks recently, I wanted to try out the out-of-the-box solution for simple deep learning needs provided by Amazon and called “Rekognition”.

According to Amazon:
“Amazon Rekognition is a service that makes it easy to add image analysis to your applications. With Rekognition, you can detect objects, scenes, faces; search and compare faces; and identify inappropriate content in images. Rekognition’s API enables you to quickly add sophisticated deep learning-based visual search and image classification to your applications.”
After a few requests built and sent to the Rekognition service, I have to say that it looks very promising. Service is very easy to use, not too slow and, of course, depending on the use case, quite cheap. By adding some AWS Lambda, S3 and IoT services we can quickly build many useful applications which I will try to prove with an example described in this blog post.
Ladies and Gents, please meet the ‘Door Access Control System’ built with Raspberry Pi, RFID reader, RPi Camera and AWS infrastructure.
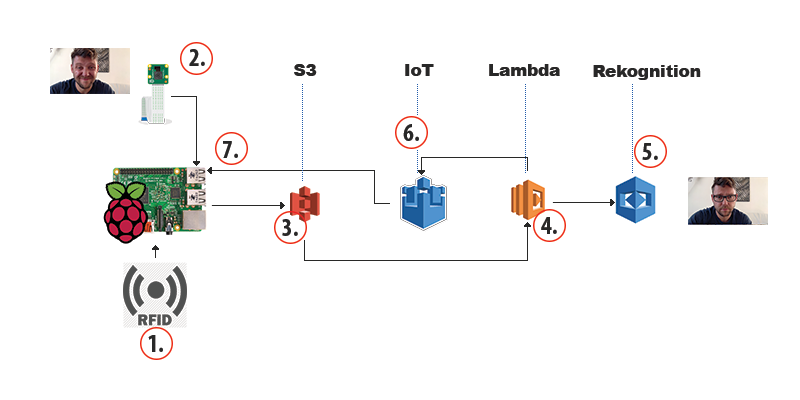
‘Door Access Control System’ or DACS in short, is a 2-step verification system, which after successful authentication with RFID card/key, checks if the owner of the card is the same person as the one using that card at the moment of authentication. In other words, it covers the following scenario:
User touches the RFID reader with the RFID card
- When the RFID event is detected and the number read is valid, the RPi Camera takes the photo of the person staying close to the RFID reader.
- The photo is passed to the S3 Service
- AWS Lambda function is triggered when the new photo gets uploaded to the specific S3 bucket and passes that data to Rekognition service (together with a pointer to the reference photo of the card owner)
- Rekognition service replies to the Lambda, giving the probability value that the person on the given image is the same person as the one on the reference photo (stored earlier in s3 and associated with the number read by the RFID reader).
- The Lambda function publishes the data received from Rekognition to the IoT topic
- Raspberry Pi listens for the events on the IoT topic and once the data is received it decides if it should open the door (or perform any other action).
The photo being checked and the reference photos are named using the number of the RFID card and are stored in separate locations on the S3 service bucket - this way we can easily associate the new photo with the reference photo before sending the S3 urls to Rekognition service.
Hardware
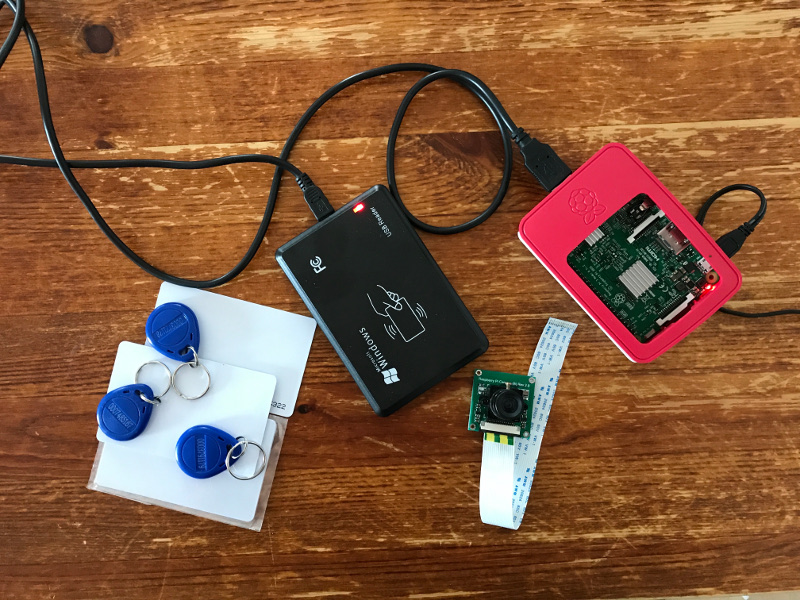
’DACS’ was build with just a few components. The main one being Raspberry Pi (I’m using ver. 3) with an HD Camera, USB RFID reader, couple of RFID cards and buttons for testing.
The setup is pretty straightforward. All we need to do is to connect the RPI to the internet (either through WiFi or Ethernet cable), attach the camera to the camera slot on the RPi board and plug the RFID reader into one of the USB ports.
Basic Raspberry Pi setup with the AWS IoT
Before doing any other work on the fresh RPi install, execute the following two commands to make sure you have the latest and greatest software available for further work:
 sudo apt-get update
 sudo apt-get upgrade
We will need an AWS SDK to be able to use S3 Service and listen to the events on the IoT topic.
- Install Python sdk for AWS API: https://github.com/aws/aws-iot-device-sdk-python
- Execute:
pip install AWSIoTPythonSDK
Install and test the camera:
After you connect the camera to the RPi you need to configure the RPi to use it. Execute the following:
sudo raspi-config
and select ‘Enable Camera’
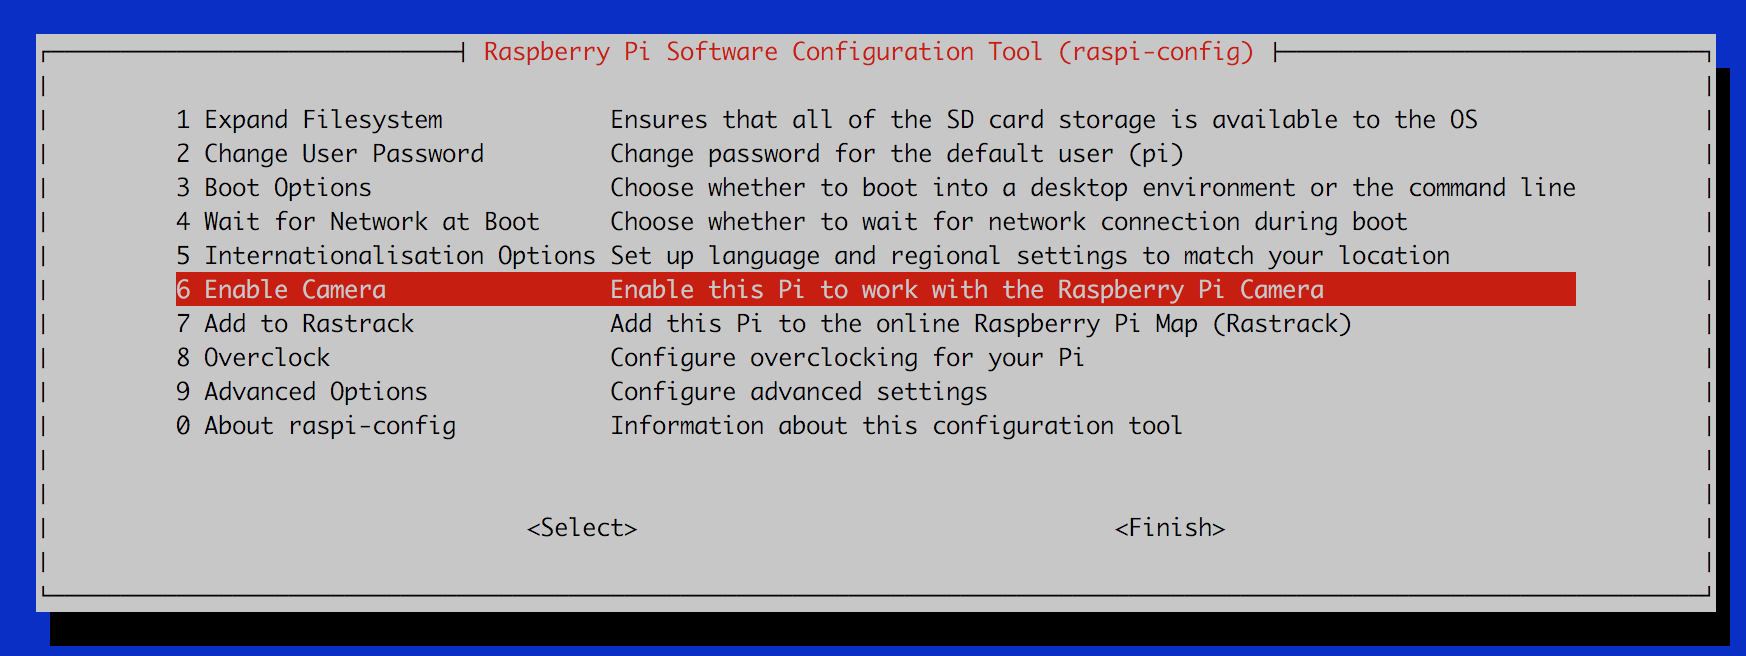
Select “Finish” and reboot your Raspberry Pi.
To test if the camera is working, try executing this command to take a simple photo:
raspistill -o test.jpg
To use the camera straight from python code, please install the following:
sudo apt-get install python-picamera
we will need that for later.
Prepare AWS IoT Connection
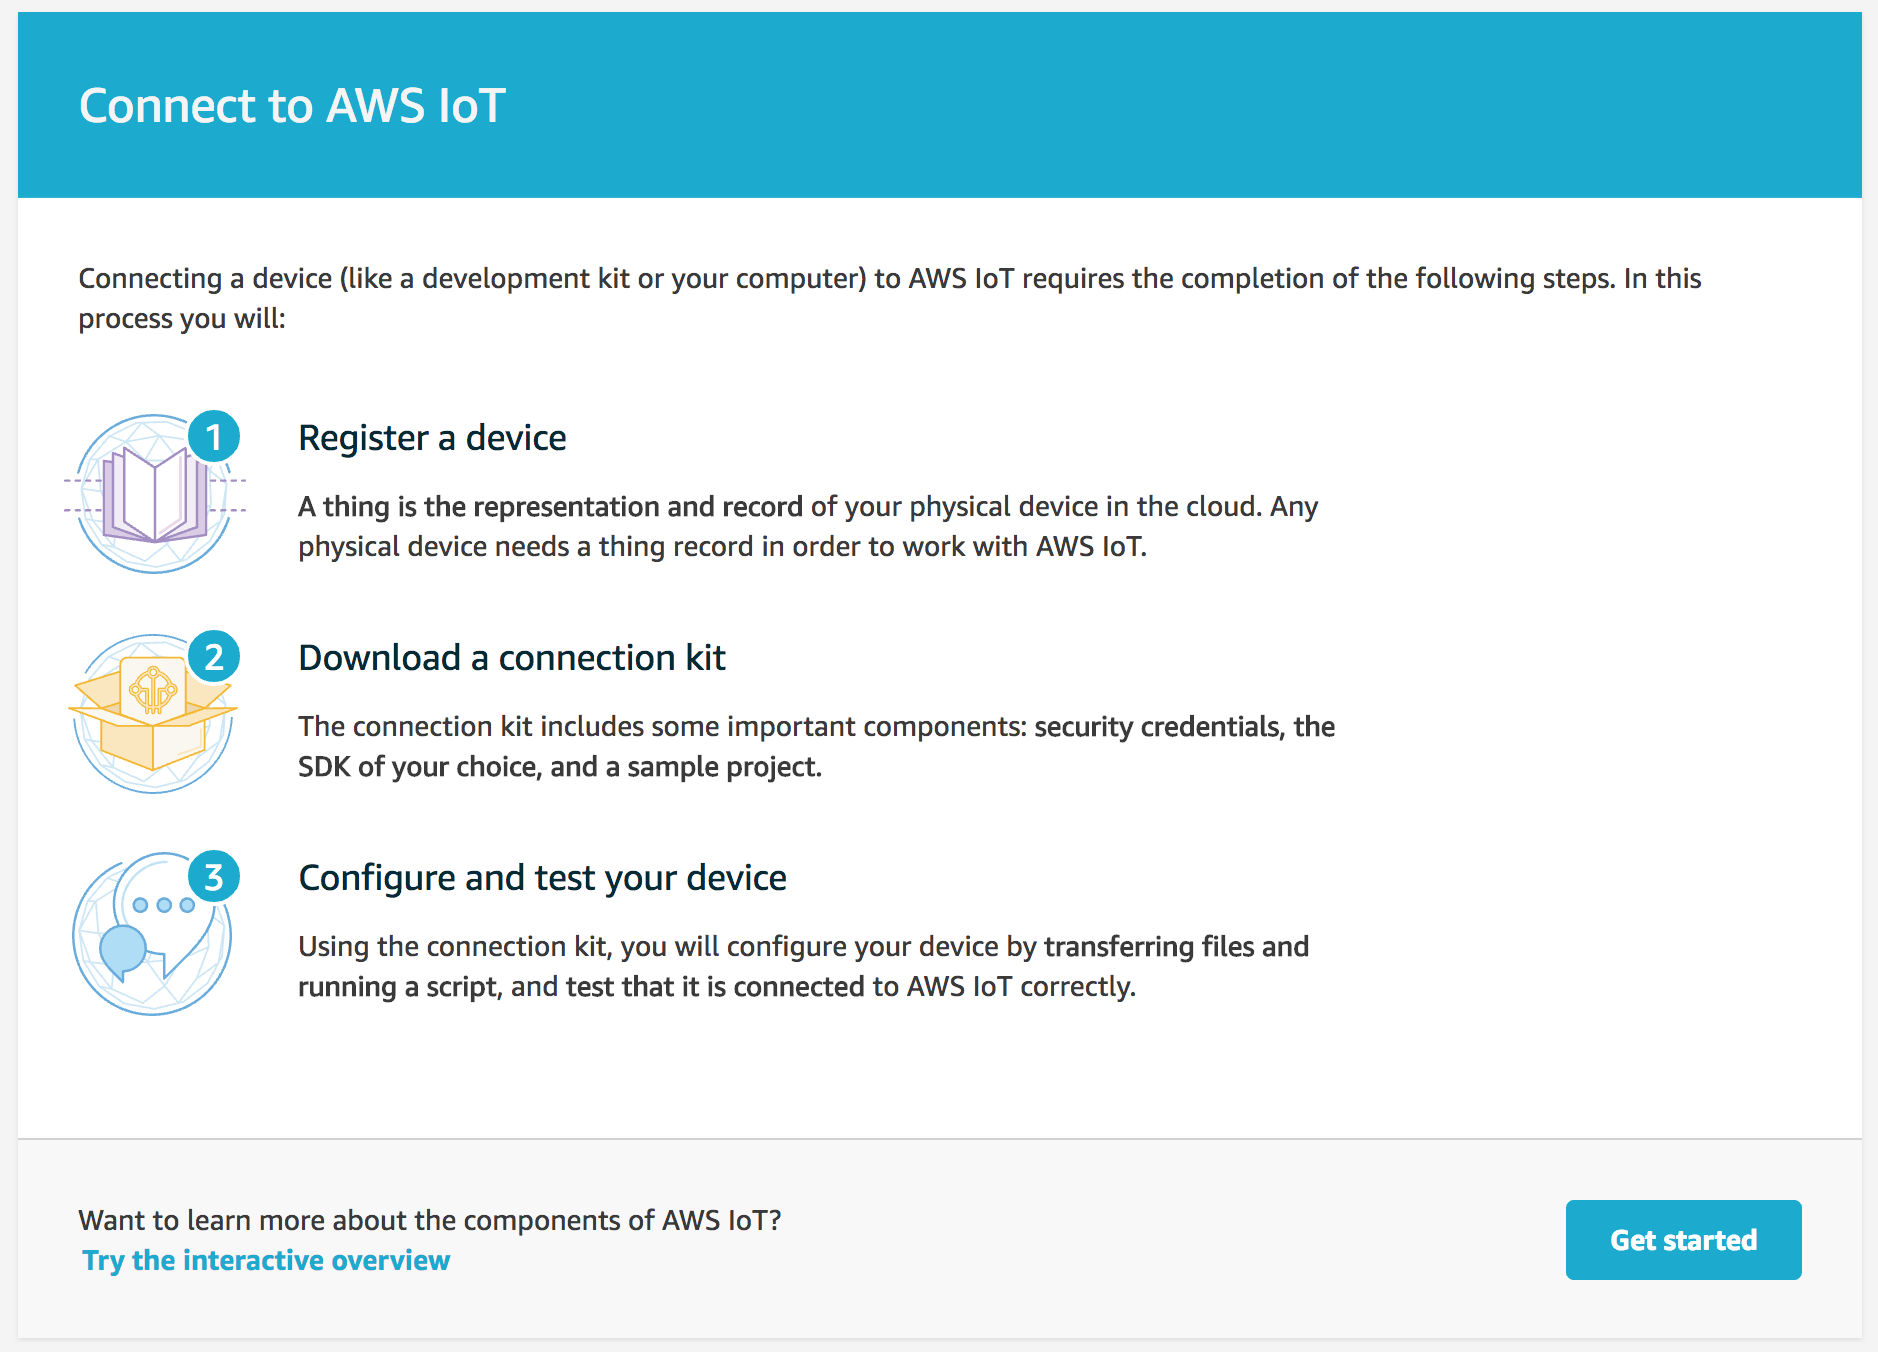
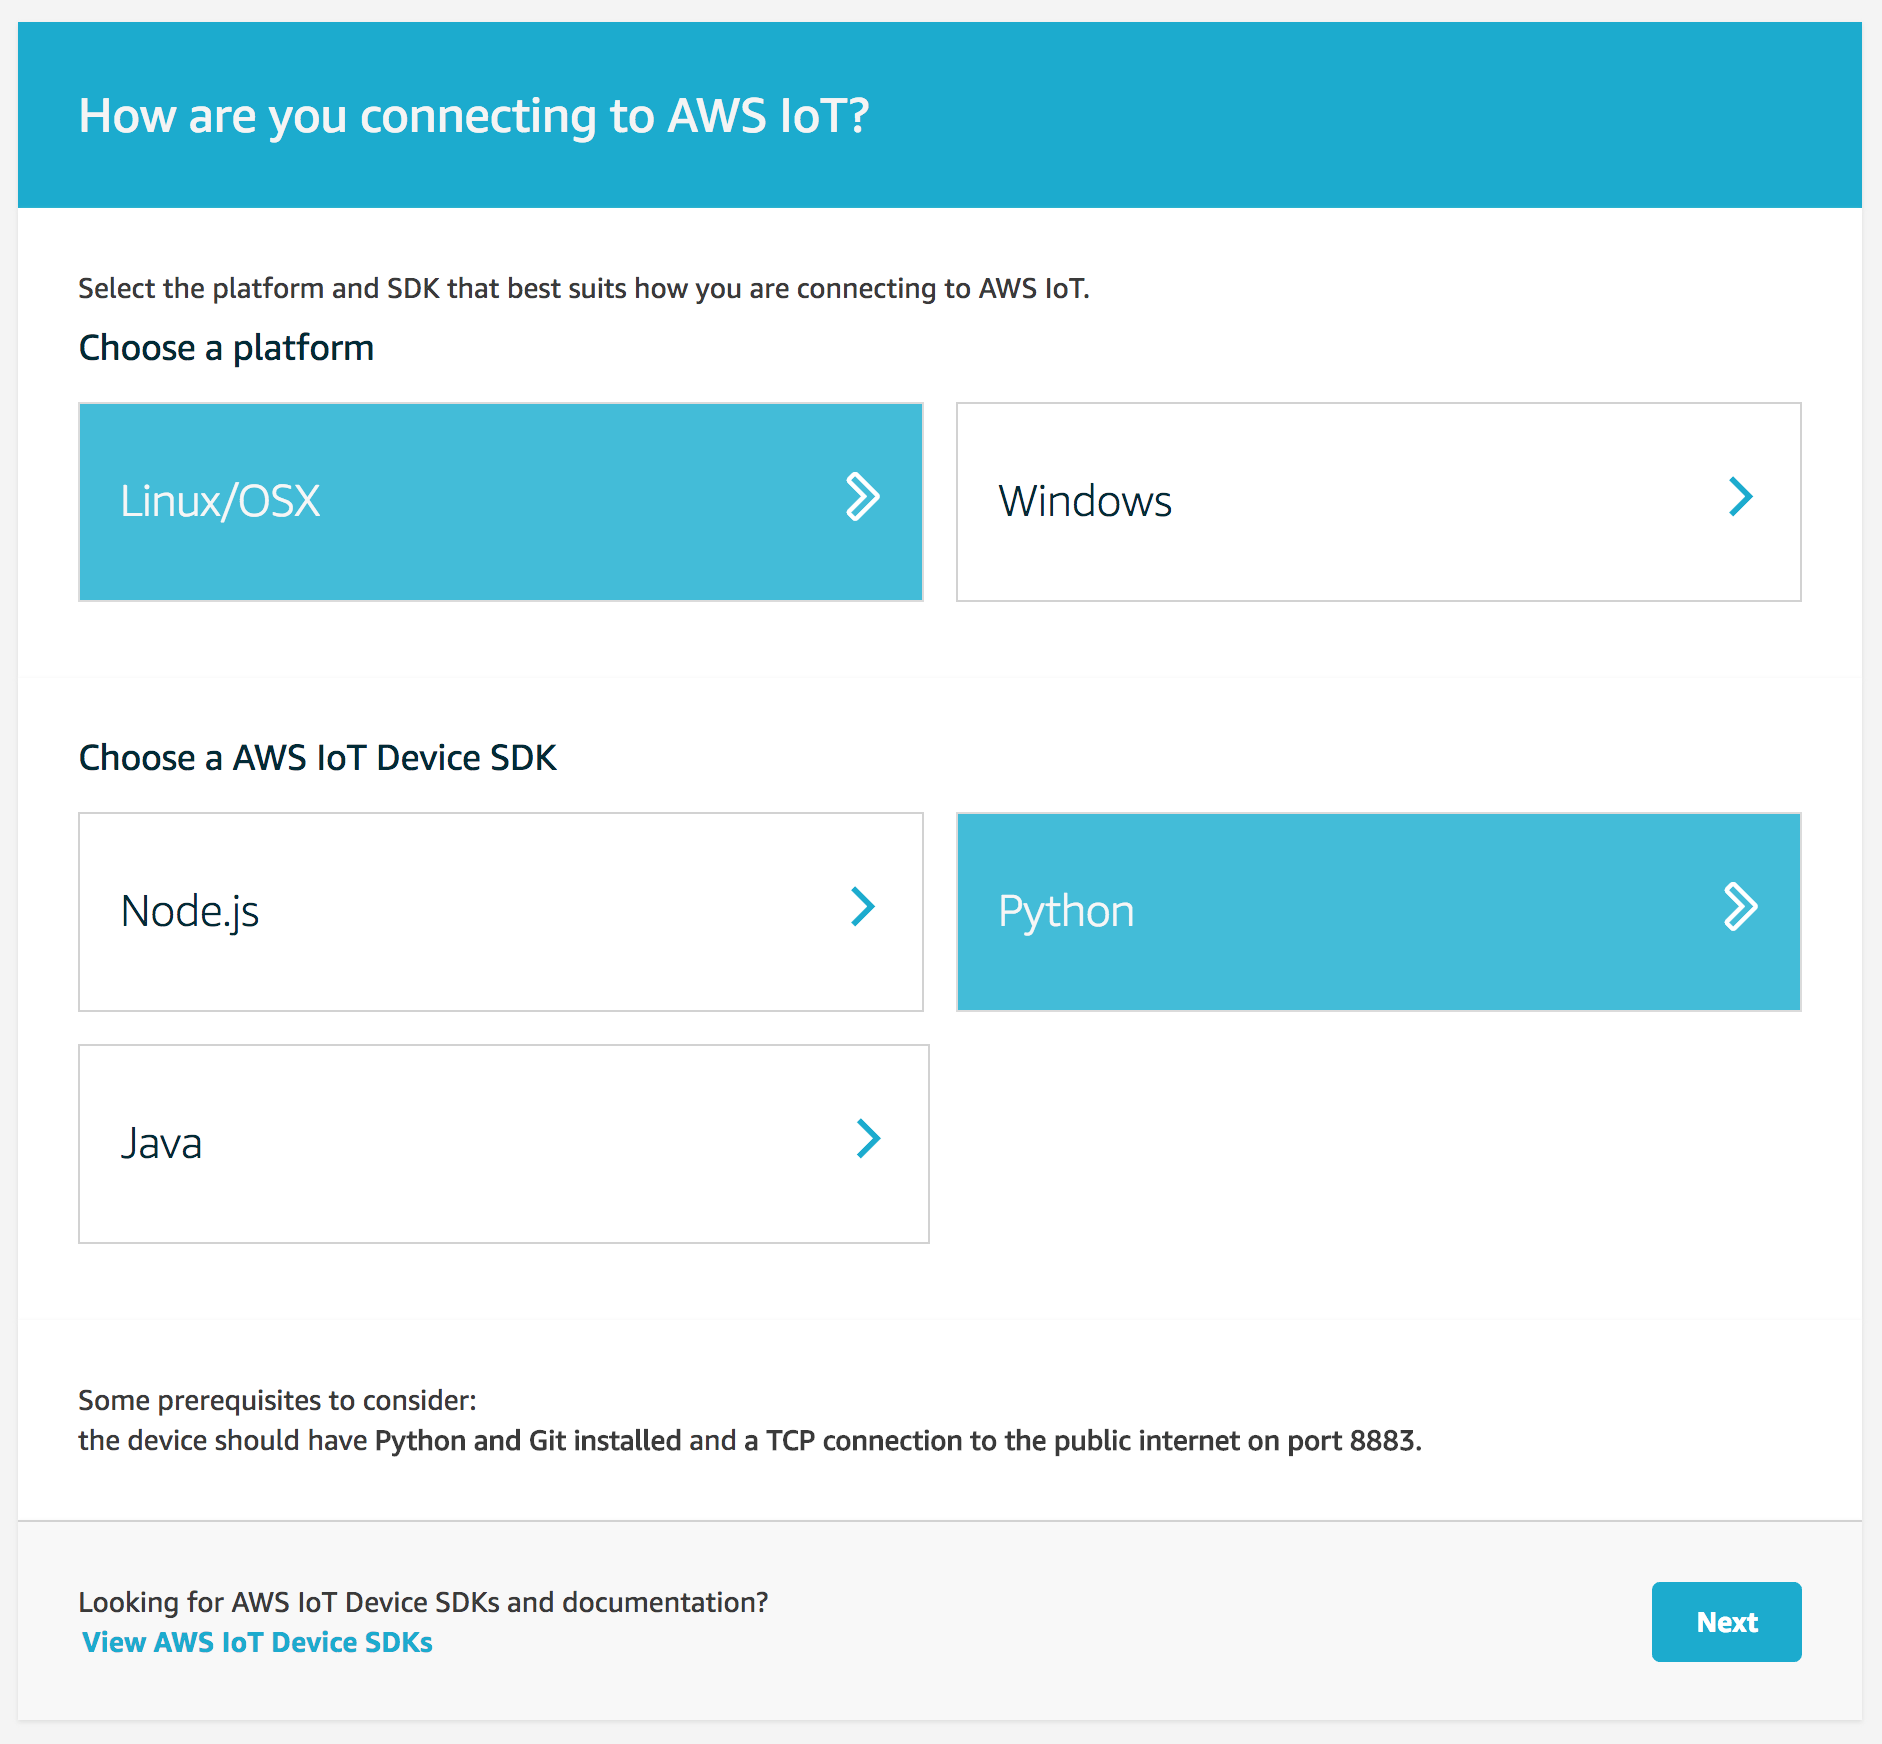
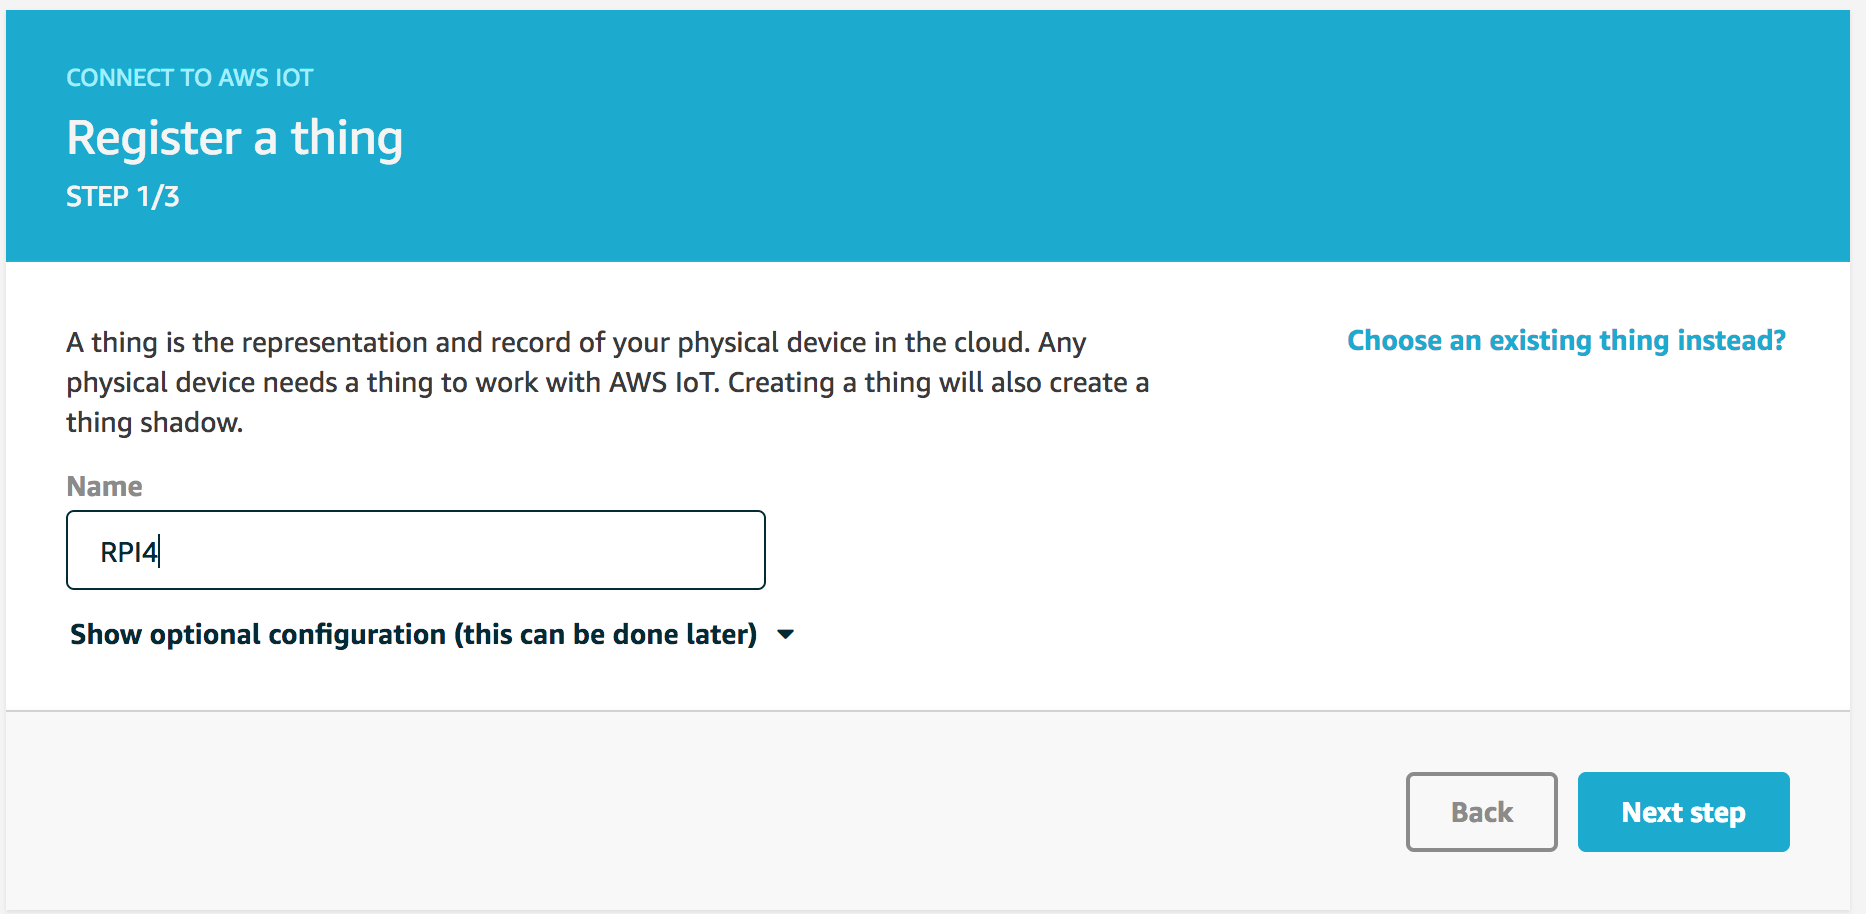
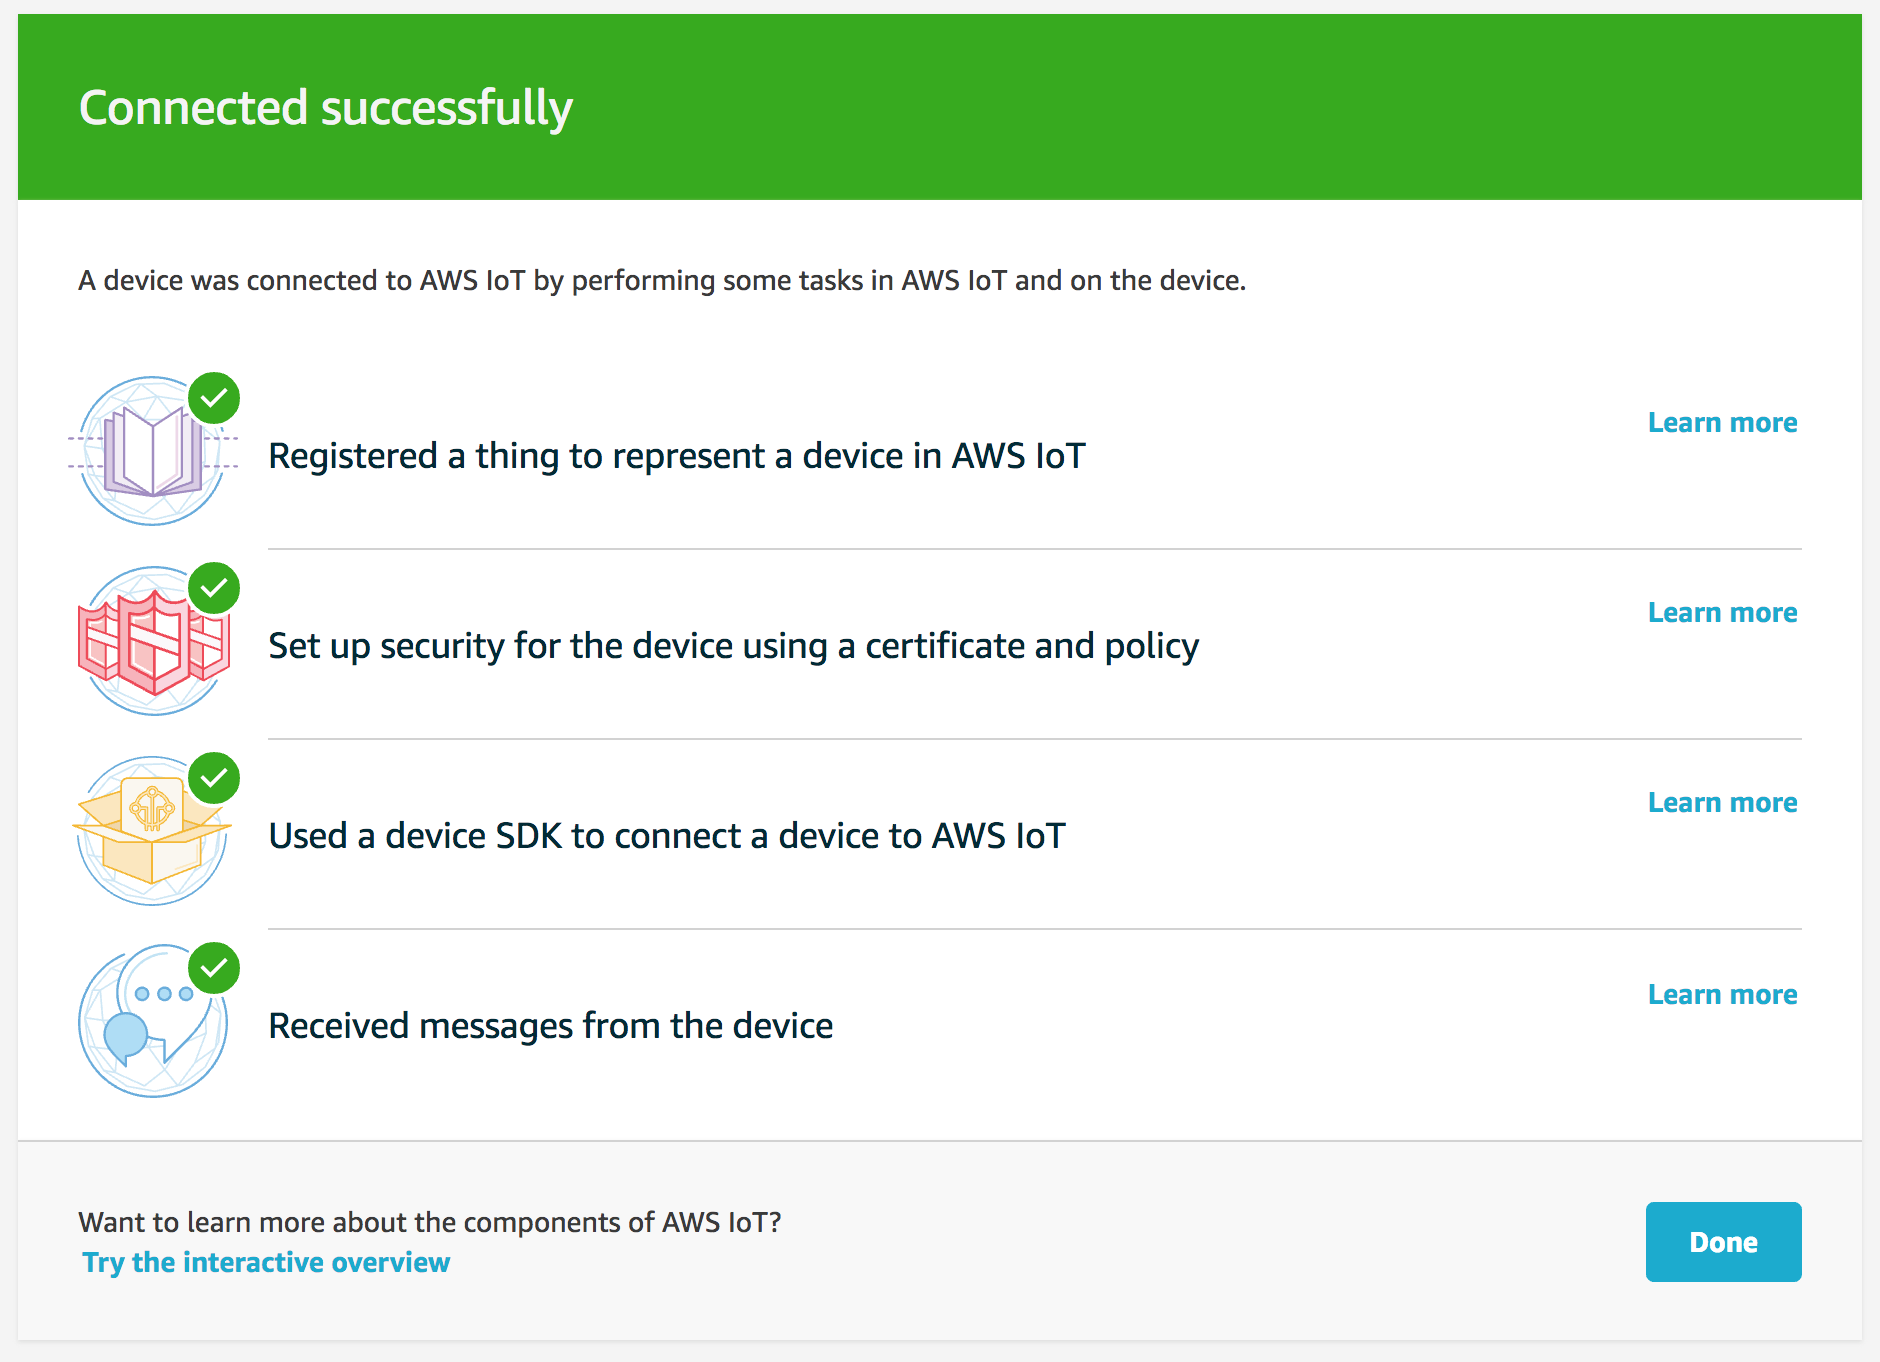
Now it’s time to connect our RPi to IoT Service. To do that, you need to login into AWS, select IoT and start a wizard by configuring a device:
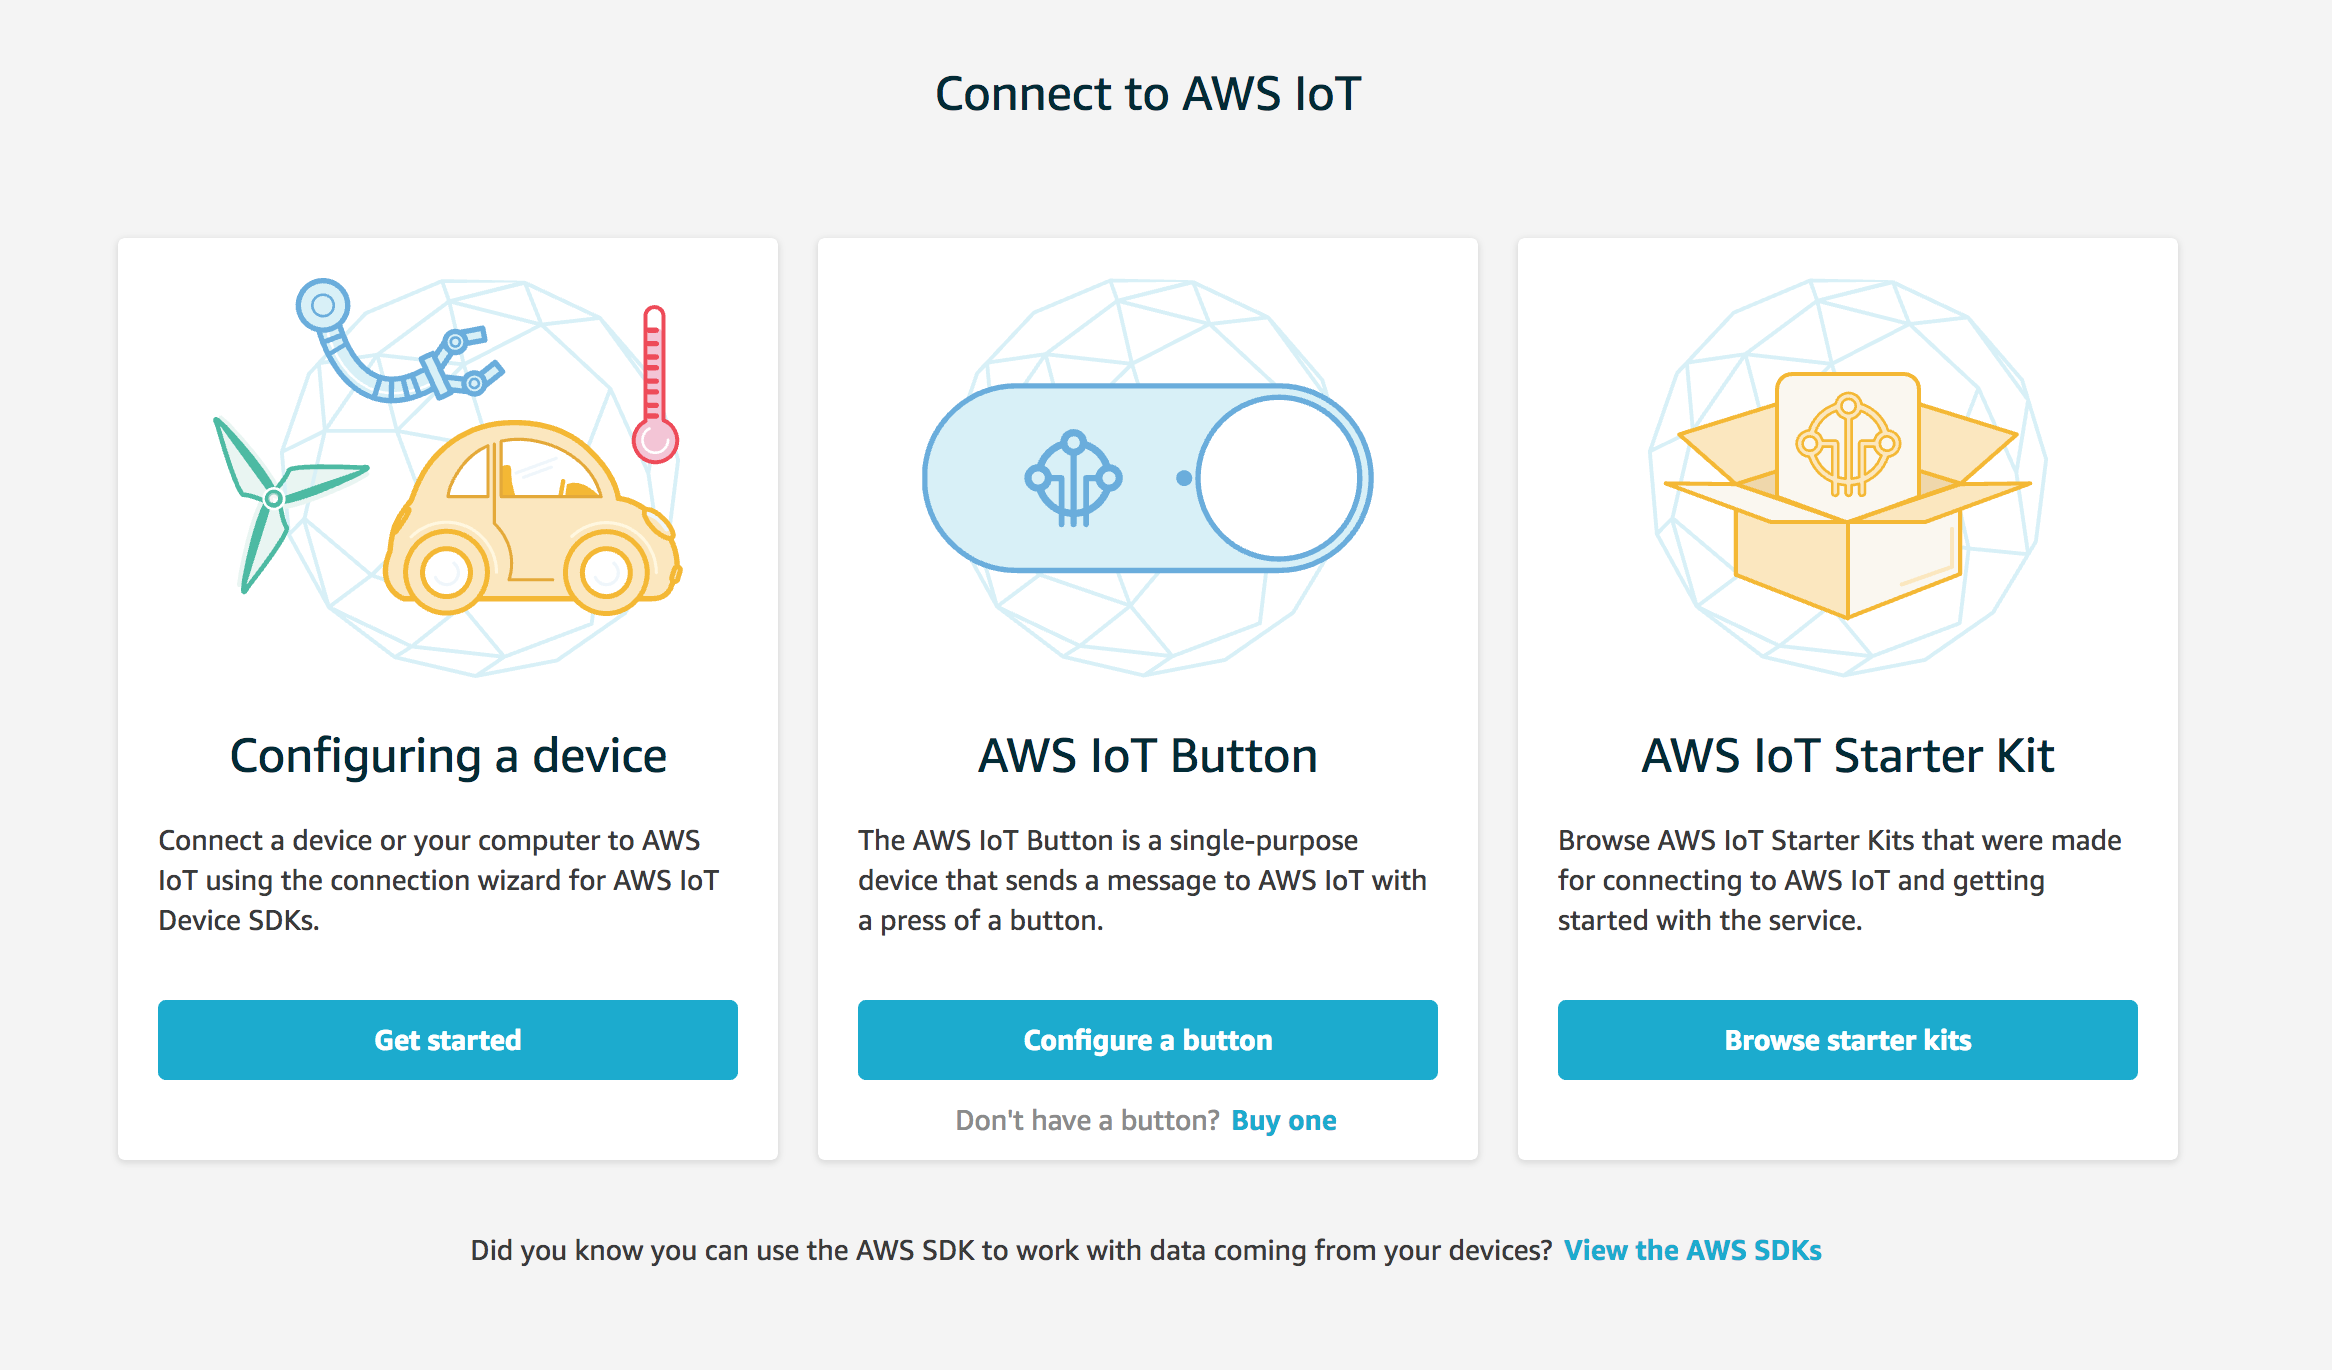
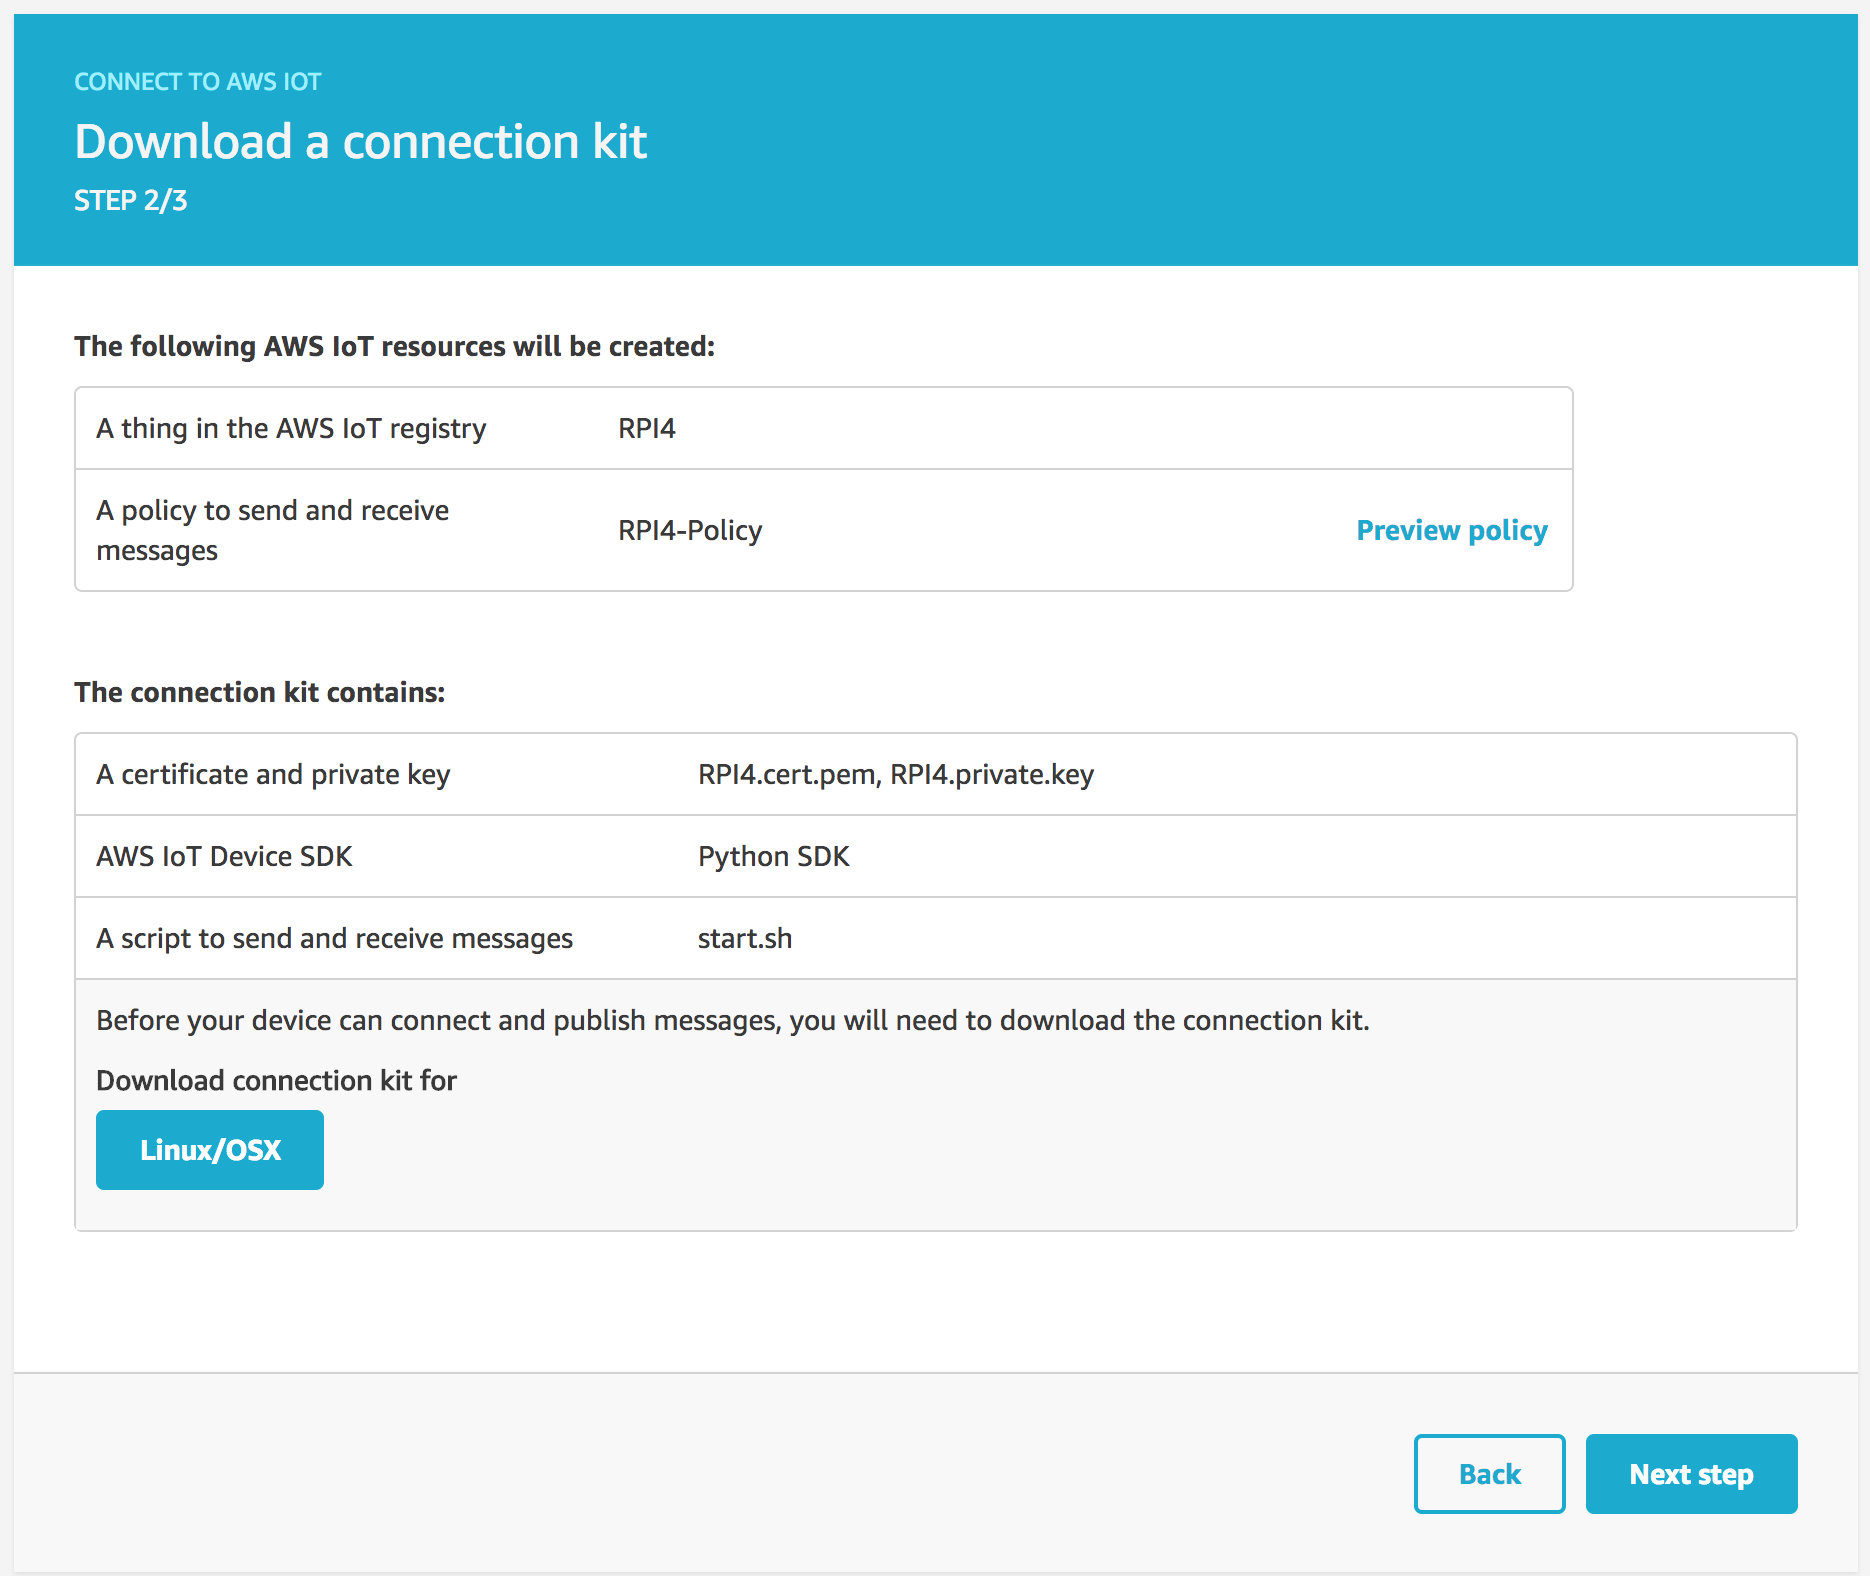
Click the ‘Download connection kit for Linux/OSX’ button and copy the files to your RPi.
Run the code with following commands:
scp ./connect_device_package.zip pi@your-ip-address:/home/pi
unzip connect_device_package.zip
chmod +x start.sh
sudo ./start.sh
in essence, it checkouts the sdk code, installs it and runs:
python aws-iot-device-sdk-python/samples/basicPubSub/basicPubSub.py -e asdfasdf.iot.eu-west-1.amazonaws.com -r root-CA.crt -c RPI4.cert.pem -k RPI4.private.key
The basicPubSub.py is a simple example script for publishing and subscribing to the example topic on AWS IoT (the topic is called sdk/test/Python)
# Connect and subscribe to AWS IoT
myAWSIoTMQTTClient.connect()
myAWSIoTMQTTClient.subscribe("sdk/test/Python", 1, customCallback)
time.sleep(2)

# Publish to the same topic in a loop forever
loopCount = 0
while True:
    myAWSIoTMQTTClient.publish("sdk/test/Python", "New Message " + str(loopCount), 1)
    loopCount += 1
    time.sleep(1)
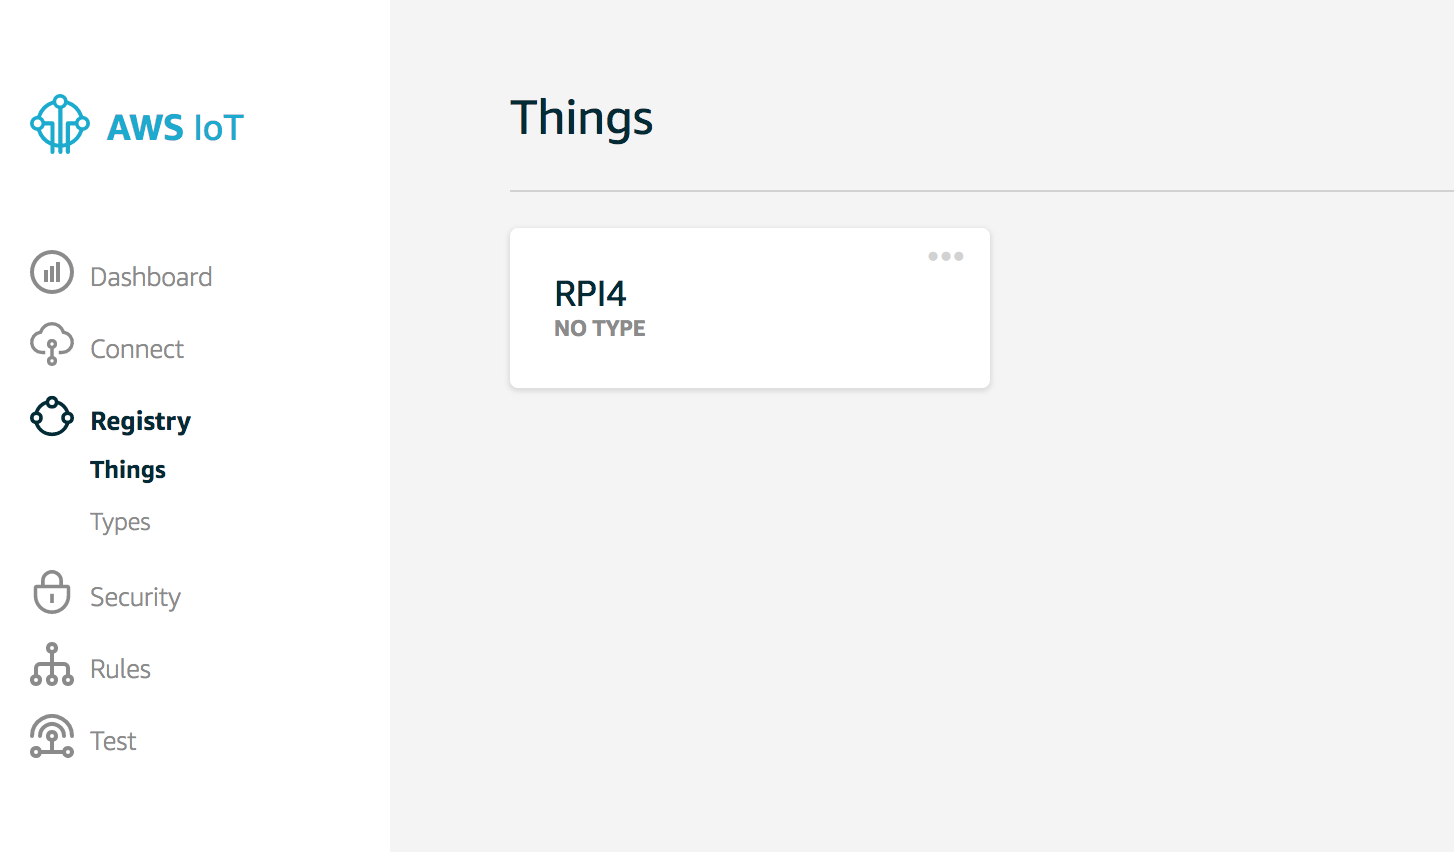
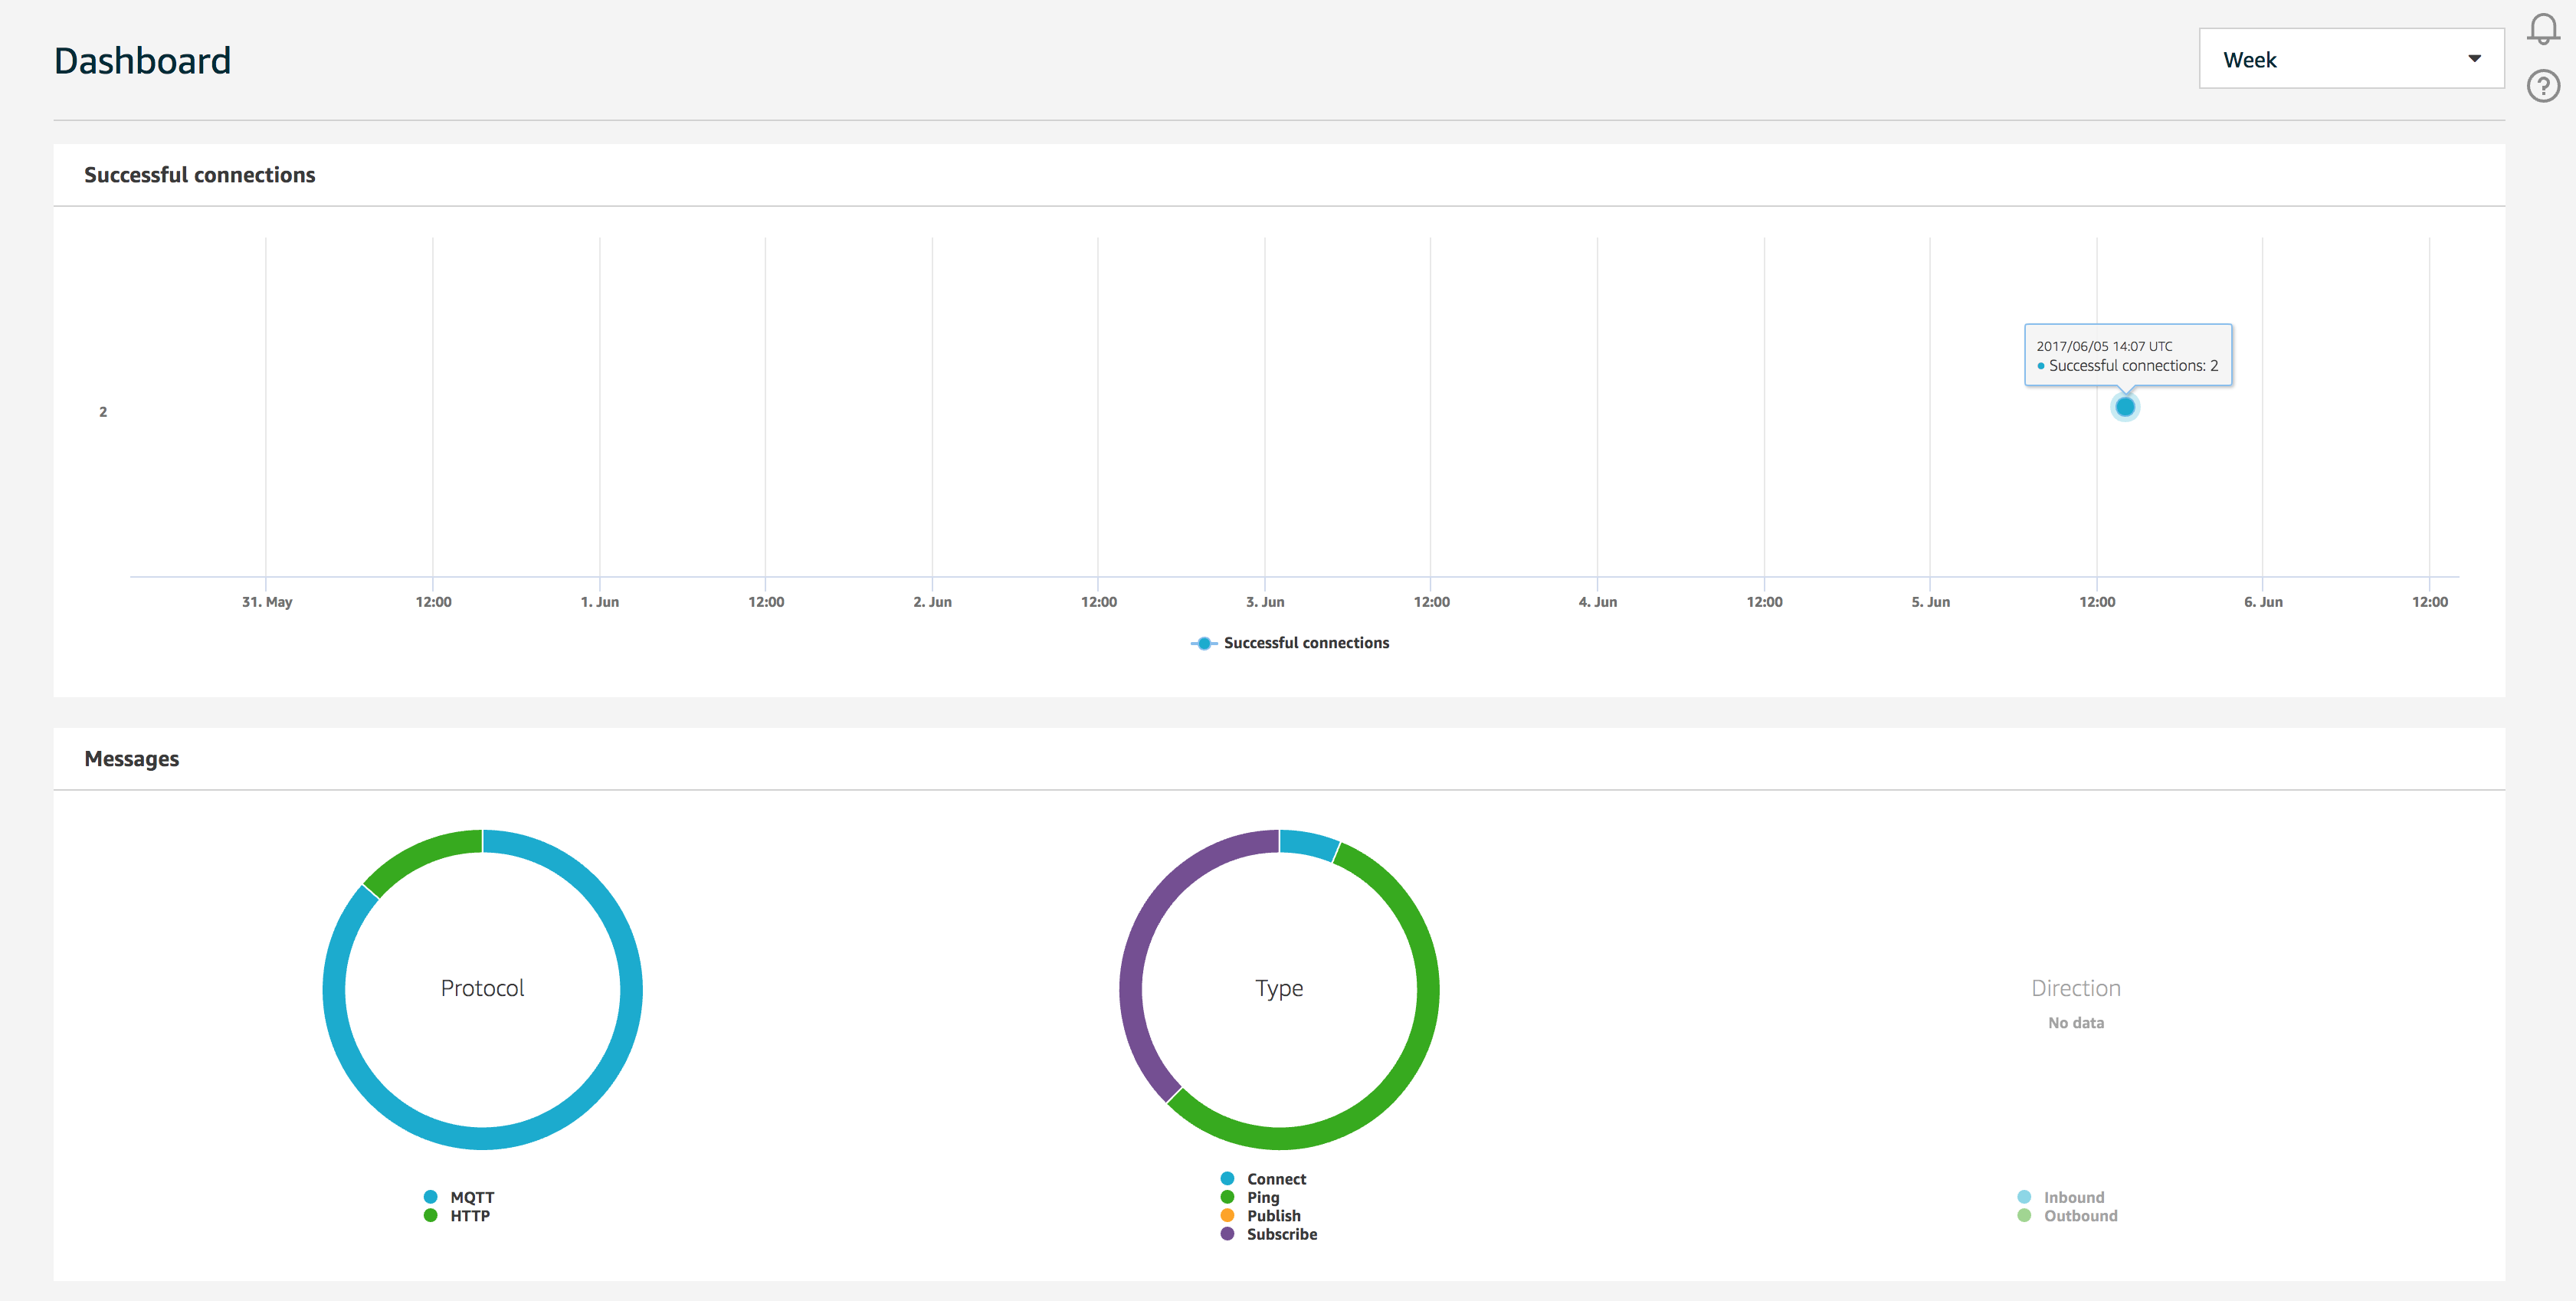
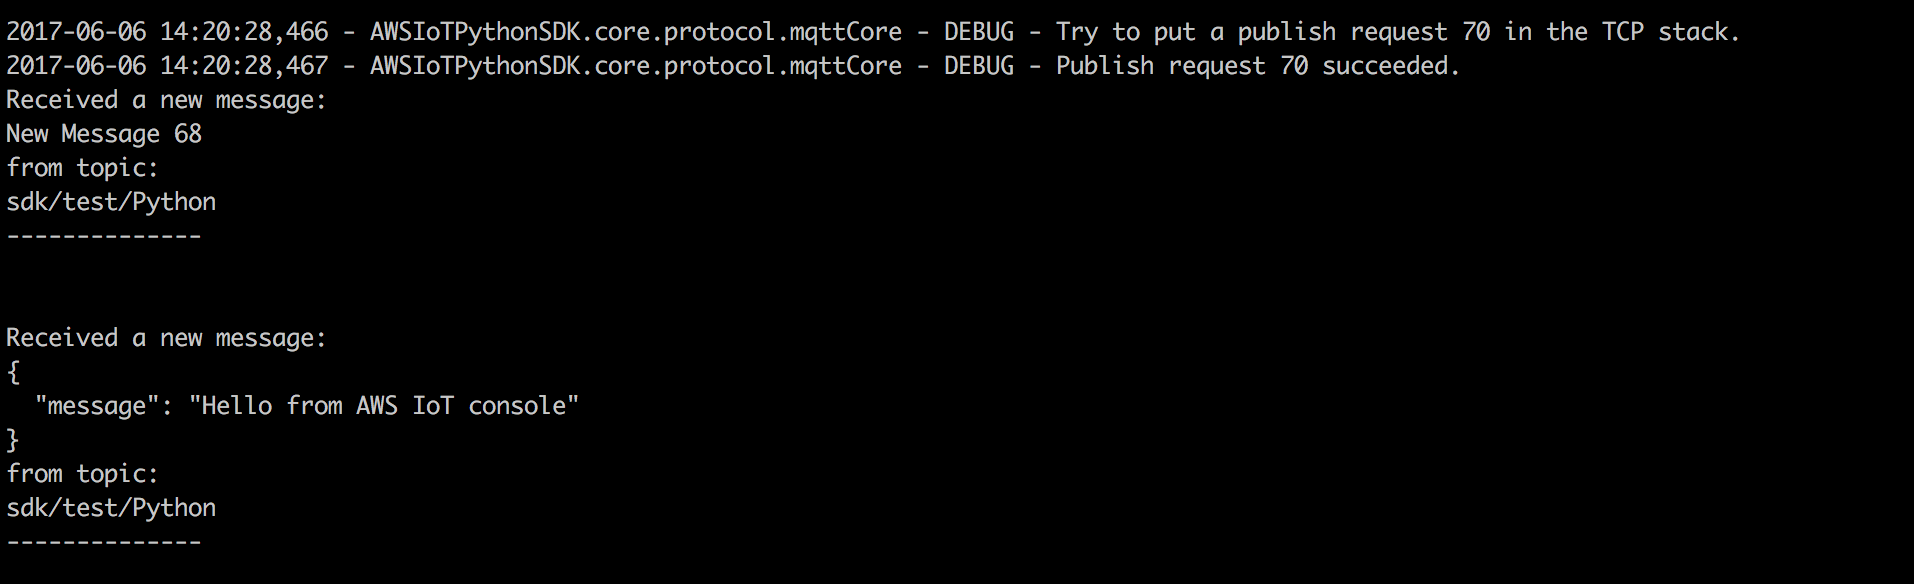
Once you run the example script provided, you should be able to see statistics which are being gathered for your newly registered ‘Thing’
You can test your IoT setup by subscribing to the topic on the AWS Console MQTT tools page:
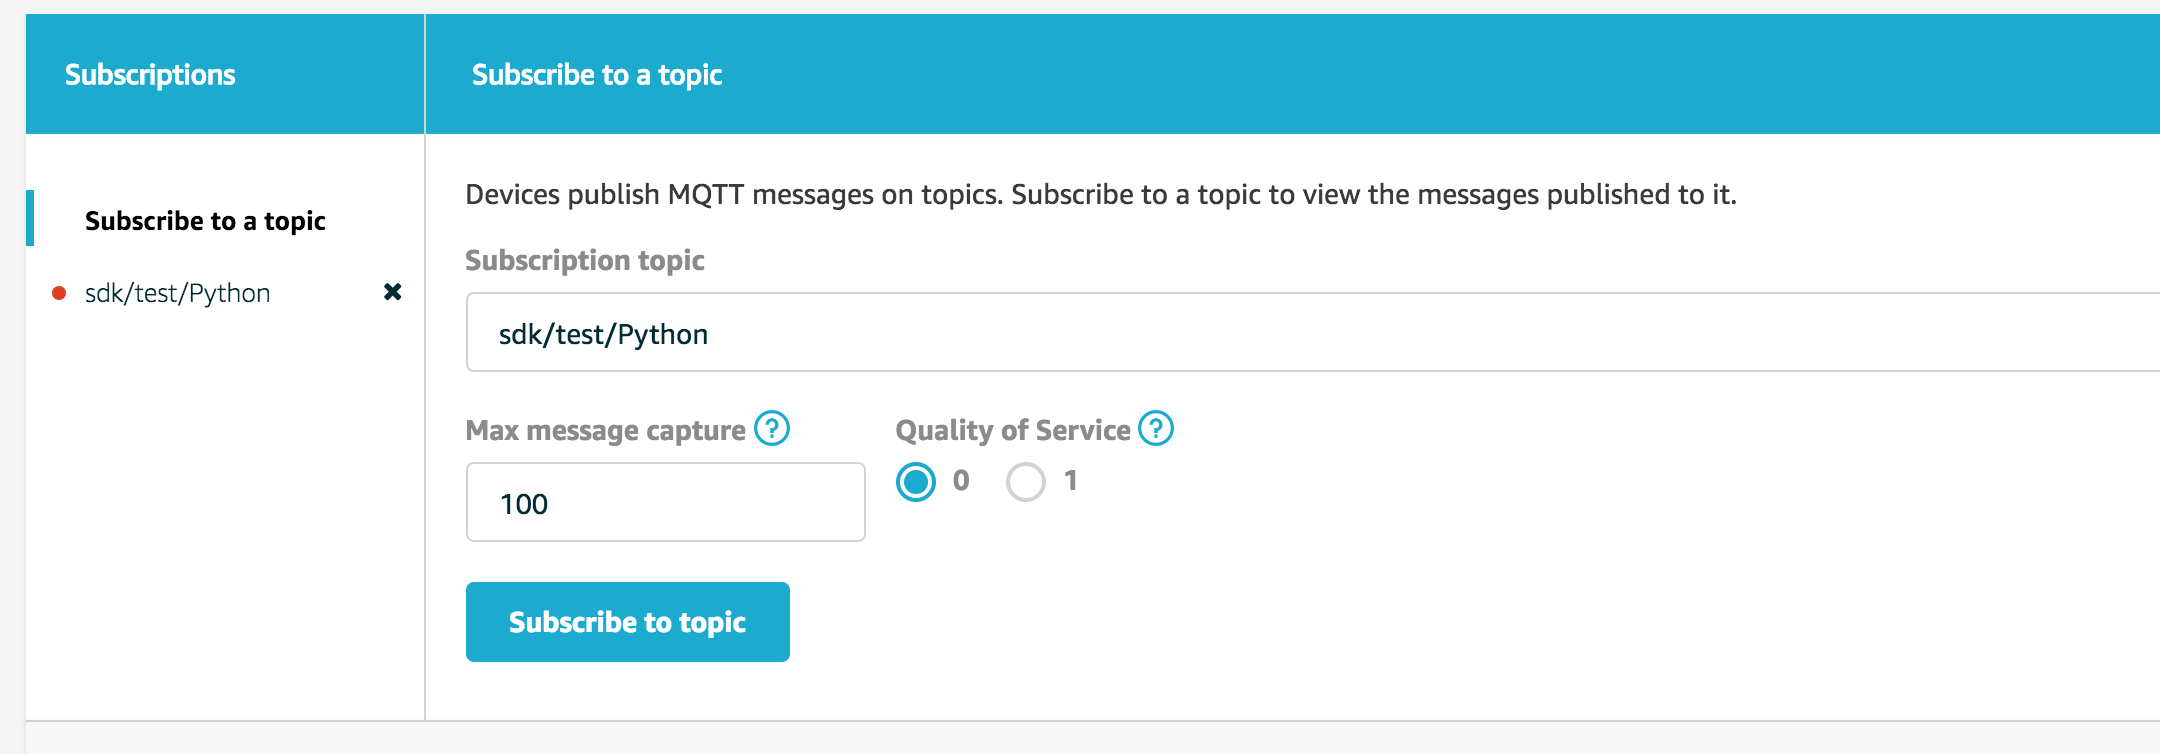

as well as send your own messages to the topic and see if they are received by the RPi:

Sending Images to S3
To upload our photos to S3 for further processing we will use a library called ‘tinyS3’
pip install tinys3
Open up the camera:
camera = picamera.PiCamera()
camera.resolution = (image_width, image_height)
camera.awb_mode = 'auto'
Upload to S3:
def uploadToS3(file_name):
    filepath = image_folder + '/' + file_name + file_extension
    camera.capture(filepath)
    conn = tinys3.Connection(access_key_id, secret_access_key)
    f = open(filepath, 'rb')
    conn.upload(filepath, f, bucket_name,
               headers={
               'x-amz-meta-cache-control': 'max-age=60'
               })
    if os.path.exists(filepath):
        os.remove(filepath)

uploadToS3('0004098554')
Assuming that the image_folder variable is set to eg. ‘dacs’, the image will be stored in the ‘dacs’ folder inside specified bucket in the S3 Service.
Capturing RFiD input
Our RFID reader is attached to the ‘hidraw0’ device, you can check if you have selected the proper device with simple:
sudo cat /dev/your-device-name
and then trying to scan an RFID card. If you see anything it means that it’s working, now you just need to decode the input into a readable string:
### Code found on RPi forum ####
import sys
hid = { 4: 'a', 5: 'b', 6: 'c', 7: 'd', 8: 'e', 9: 'f', 10: 'g', 11: 'h', 12: 'i', 13: 'j', 14: 'k', 15: 'l', 16: 'm', 17: 'n', 18: 'o', 19: 'p', 20: 'q', 21: 'r', 22: 's', 23: 't', 24: 'u', 25: 'v', 26: 'w', 27: 'x', 28: 'y', 29: 'z', 30: '1', 31: '2', 32: '3', 33: '4', 34: '5', 35: '6', 36: '7', 37: '8', 38: '9', 39: '0', 44: ' ', 45: '-', 46: '=', 47: '[', 48: ']', 49: '\\', 51: ';' , 52: '\'', 53: '~', 54: ',', 55: '.', 56: '/'  }
hid2 = { 4: 'A', 5: 'B', 6: 'C', 7: 'D', 8: 'E', 9: 'F', 10: 'G', 11: 'H', 12: 'I', 13: 'J', 14: 'K', 15: 'L', 16: 'M', 17: 'N', 18: 'O', 19: 'P', 20: 'Q', 21: 'R', 22: 'S', 23: 'T', 24: 'U', 25: 'V', 26: 'W', 27: 'X', 28: 'Y', 29: 'Z', 30: '!', 31: '@', 32: '#', 33: '$', 34: '%', 35: '^', 36: '&', 37: '*', 38: '(', 39: ')', 44: ' ', 45: '_', 46: '+', 47: '{', 48: '}', 49: '|', 51: ':' , 52: '"', 53: '~', 54: '<', 55: '>', 56: '?'  }

def readRFID():
  fp = open('/dev/hidraw0', 'rb')
  ss = ""
  shift = False
  done = False
  while not done:
    ## Get the character from the HID
    buffer = fp.read(8)
    for c in buffer:
       if ord(c) > 0:
          ##  40 is carriage return which signifies
          ##  we are done looking for characters
          if int(ord(c)) == 40:
             done = True
             break;
          ##  If we are shifted then we have to
          ##  use the hid2 characters.
          if shift:
             ## If it is a '2' then it is the shift key
             if int(ord(c)) == 2 :
                shift = True
             ## if not a 2 then lookup the mapping
             else:
                ss += hid2[ int(ord(c)) ]
                shift = False
          ##  If we are not shifted then use
          ##  the hid characters
          else:
             ## If it is a '2' then it is the shift key
             if int(ord(c)) == 2 :
                shift = True
             ## if not a 2 then lookup the mapping
             else:
                ss += hid[ int(ord(c)) ]
return ss
Full source code available here
AWS Lambda Setup with Amazon Rekognition
Once we know how to handle the RPi side (taking photos, reading rfid input, sending data to s3 and listening on the IoT topic) we can move onto setting everything up on the AWS side.
The AWS Lambda function can be triggered using many different events from the AWS ecosystem, one of them is S3 Upload event:
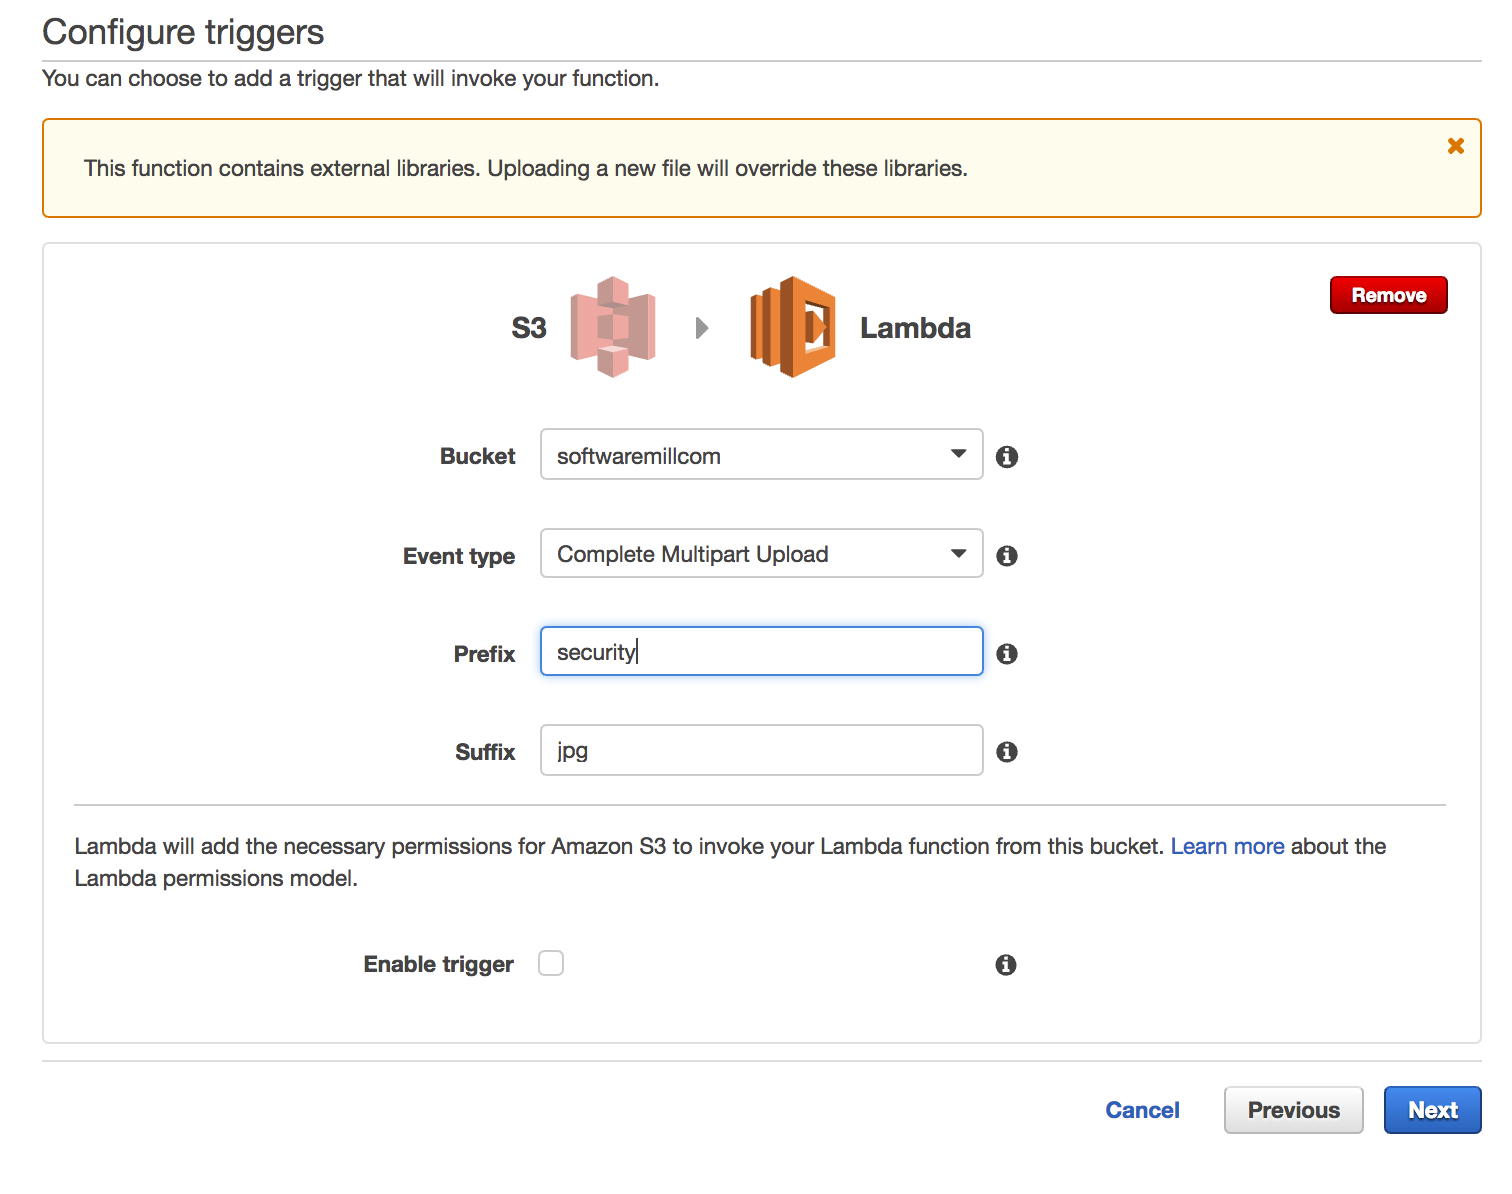
When RPi uploads a photo to S3, the Lambda function gets triggered with the following data:
Example event:
{
    "Records": [{
        "eventVersion": "2.0",
        "eventTime": "2017-06-08T07:34:26.471Z",
        "requestParameters": {
            "sourceIPAddress": "some-ip-address"
        },
        "s3": {
            "configurationId": "config-id-uuid",
            "object": {
                "eTag": "8aeb3d68206",
                "sequencer": "DDB64F5",
                "key": "kris.png",
                "size": 2234975
            },
            "bucket": {
                "arn": "arn:aws:s3:::softwaremillcom",
                "name": "softwaremillcom",
                "ownerIdentity": {
                    "principalId": "asdfsssV2O8C7I"
                }
            },
            "s3SchemaVersion": "1.0"
        },
        "responseElements": {
            "x-amz-id-2": "asdfasd0/2a5t1zu4w3/zXT3UJr26AEj/IFuPfRCZAA8J7Ko/8=",
            "x-amz-request-id": "64CE1E01850"
        },
        "awsRegion": "eu-west-1",
        "eventName": "ObjectCreated:Put",
        "userIdentity": {
            "principalId": "A38302O8C7I"
        },
        "eventSource": "aws:s3"
    }]
}
We can extract data from the event in the following way:
bucket = event['Records'][0]['s3']['bucket']['name']
    key = urllib.unquote_plus(event['Records'][0]['s3']['object']['key'].encode('utf8'))
    key_target = "target/" + key
Assuming that the photo with the same name exists inside the ‘target’ directory we can compare our photos with Rekognition service:
def compare_faces(bucket, key, key_target, threshold=80):
    response = rekognition.compare_faces(
        SourceImage={
            "S3Object": {
                "Bucket": bucket,
                "Name": key,
            }
        },
        TargetImage={
            "S3Object": {
                "Bucket": bucket,
                "Name": key_target,
            }
        },
        SimilarityThreshold=threshold,
    )
    return response['SourceImageFace'], response['FaceMatches']
and publish it back to the IoT topic:
iotResponse = iot.publish(
            topic="rekognition/result",
            qos=1,
            payload=mypayload)
Example payload:
[{
        "BoundingBox": {
            "Width": 0.40666666626930237,
            "Top": 0.12121212482452393,
            "Left": 0.23666666448116302,
            "Height": 0.6931818127632141
        },
        "Confidence": 99.99969482421875
    },
    [{
        "Face": {
            "BoundingBox": {
                "Width": 0.4122222363948822,
                "Top": 0.1338289976119995,
                "Left": 0.2544444501399994,
                "Height": 0.6895910501480103
            },
            "Confidence": 99.99313354492188
        },
        "Similarity": 85.0
    }]
]
Full lambda function source code available here
To make AWS Lambda publish the events onto IoT service it needs to have a permissions to do that. You can set additional permissions by finding out which role the AWS Lambda is using at the moment, finding this role on the IAM Service and adding the full access to the IoT.

Working example
Gist with the full source code available here
Summary
I hope you’ve liked this quickly hacked solution, utilizing Amazon cloud computers to do the work for you in milliseconds. The presented work can be of course extended with other AWS services, like DynamoDB for storing the data for later processing, and possibly many others. There is a lot of fun with Amazon Rekognition and I’m sure we will see it often in the future, both in personal and professional solutions.