PW-Sat2 - log accelerometer data and detect free fall for droptower test
Our friends from PW-Sat 2 team need to
test their satellite-deorbiting sail release mechanism. To make conditions
as close to the real ones as possible, the test is to be performed in
a specialised laboratory - in vacuum and without gravity. Vacuum is
created by pumping out air, and lack of gravity by free fall from a tower.
So the device is to be dropped from some height in a vacuum.
As you might expect, the problem here is time - we have only ~1.2
seconds before the device hits the safety net placed at the tower’s base.
The sail release mechanism is actuated by electromagnet, so we need a device which can detect its fall (free fall detection), and control the current flow through the controlling electromagnet. And that device needs to respond quickly. Sail release itself also takes time, so we have 1.2 seconds to detect the free fall, AND fully release the sail.
To detect free fall we use an accelerometer. We also need to log the data during the fall, so we store all the data from the accelerometer to an SD card. Everything is wired up through an Arduino device.
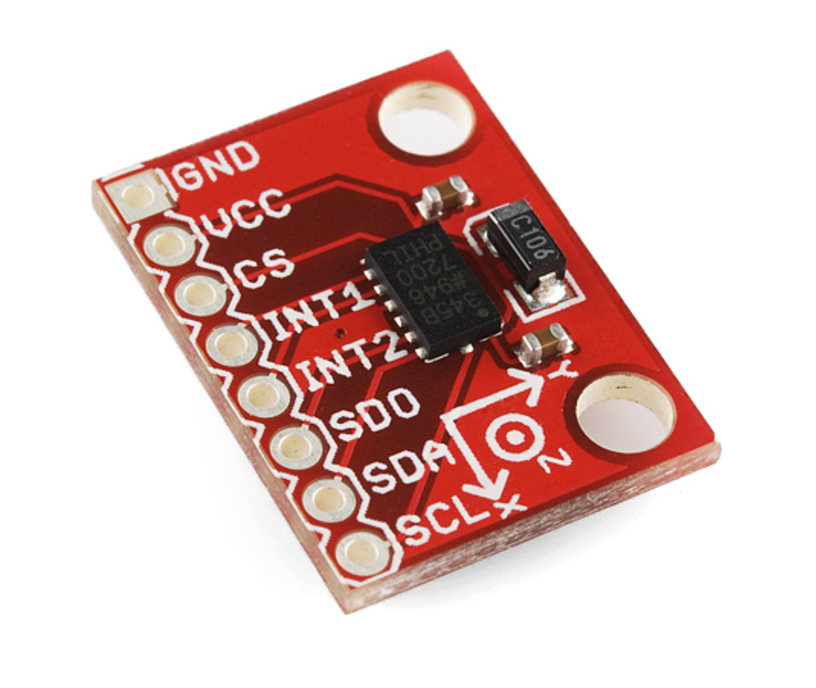
Fortunately, we don’t need to implement the free fall detection algorithms by ourselves, as the ADXL345 accelerometer we are using here has this functionality built in. We just need to set some parameters. For free fall detection this are the freeFallThreshold (sensitivity of detection) and freeFallDuration. After that, we can read the freeFall interruption to check if the device is falling or not. All of this takes only a few milliseconds, about 3 to 10, usually 5.
Another task for us is to log all data from the accelerometer to a file on an SD card. For this purpose we have executed a number of tests with the standard Arduino SD handling library and an SD card adapter (or a simple Arduino Ethernet Shield with SD Card Reader) connected via SPI interface.
Here some problems become apparent. In each loop, we can read the accelerometer state (free-fall interruption and acceleration on all 3 axis), open a file on the SD card, write the data (append to the file), and close the file. This entire sequence of operations takes about 20 milliseconds (depending on the SD card used). That’s significantly more than the 5 ms we anticipated.
One solution is to open the file once, and then only write the data. However, if we don’t close the file, the data is buffered in-memory and we have no control of when, or if at all, it’s actually written to the SD card. The solution is to open the file, write the data N times (in our case, 100), then close the file (it flushes the data to the SD card and makes sure it’s actually written) - and open it again.
Another solution is to use a 3rd-party SD library called SdFat which allows fast data writes using a binary format. After a couple of initial tests we have discovered that the write operations are indeed super fast, but the binary format brings some new problems for the PW-Sat 2 team.
In the end, we have decided to use the best of both worlds - combining the speed of the SdFat library and the convenience of the CSV file format.
Open the file:
if (!file.open(fileName, O_CREAT | O_WRITE | O_EXCL)) {
    error("file.open");
}
Write header:
void writeHeader() {
  file.print(F("milis"));
  file.print(F(",x"));
  file.print(F(",y"));
  file.print(F(",z"));
  file.print(F(",state"));
  file.println();
}
And then write data in a loop:
void logData() {
// Accelerometer Readings
int x,y,z;
// Read the accelerometer values and store them in variables declared above x,y,z
adxl.readAccel(&x, &y, &z);
file.print(String(millis()));
file.write(',');
file.print(x);
file.write(',');
file.print(y);
file.write(',');
file.print(z);
file.write(',');
file.print(String(freeFallDetected));
file.println();
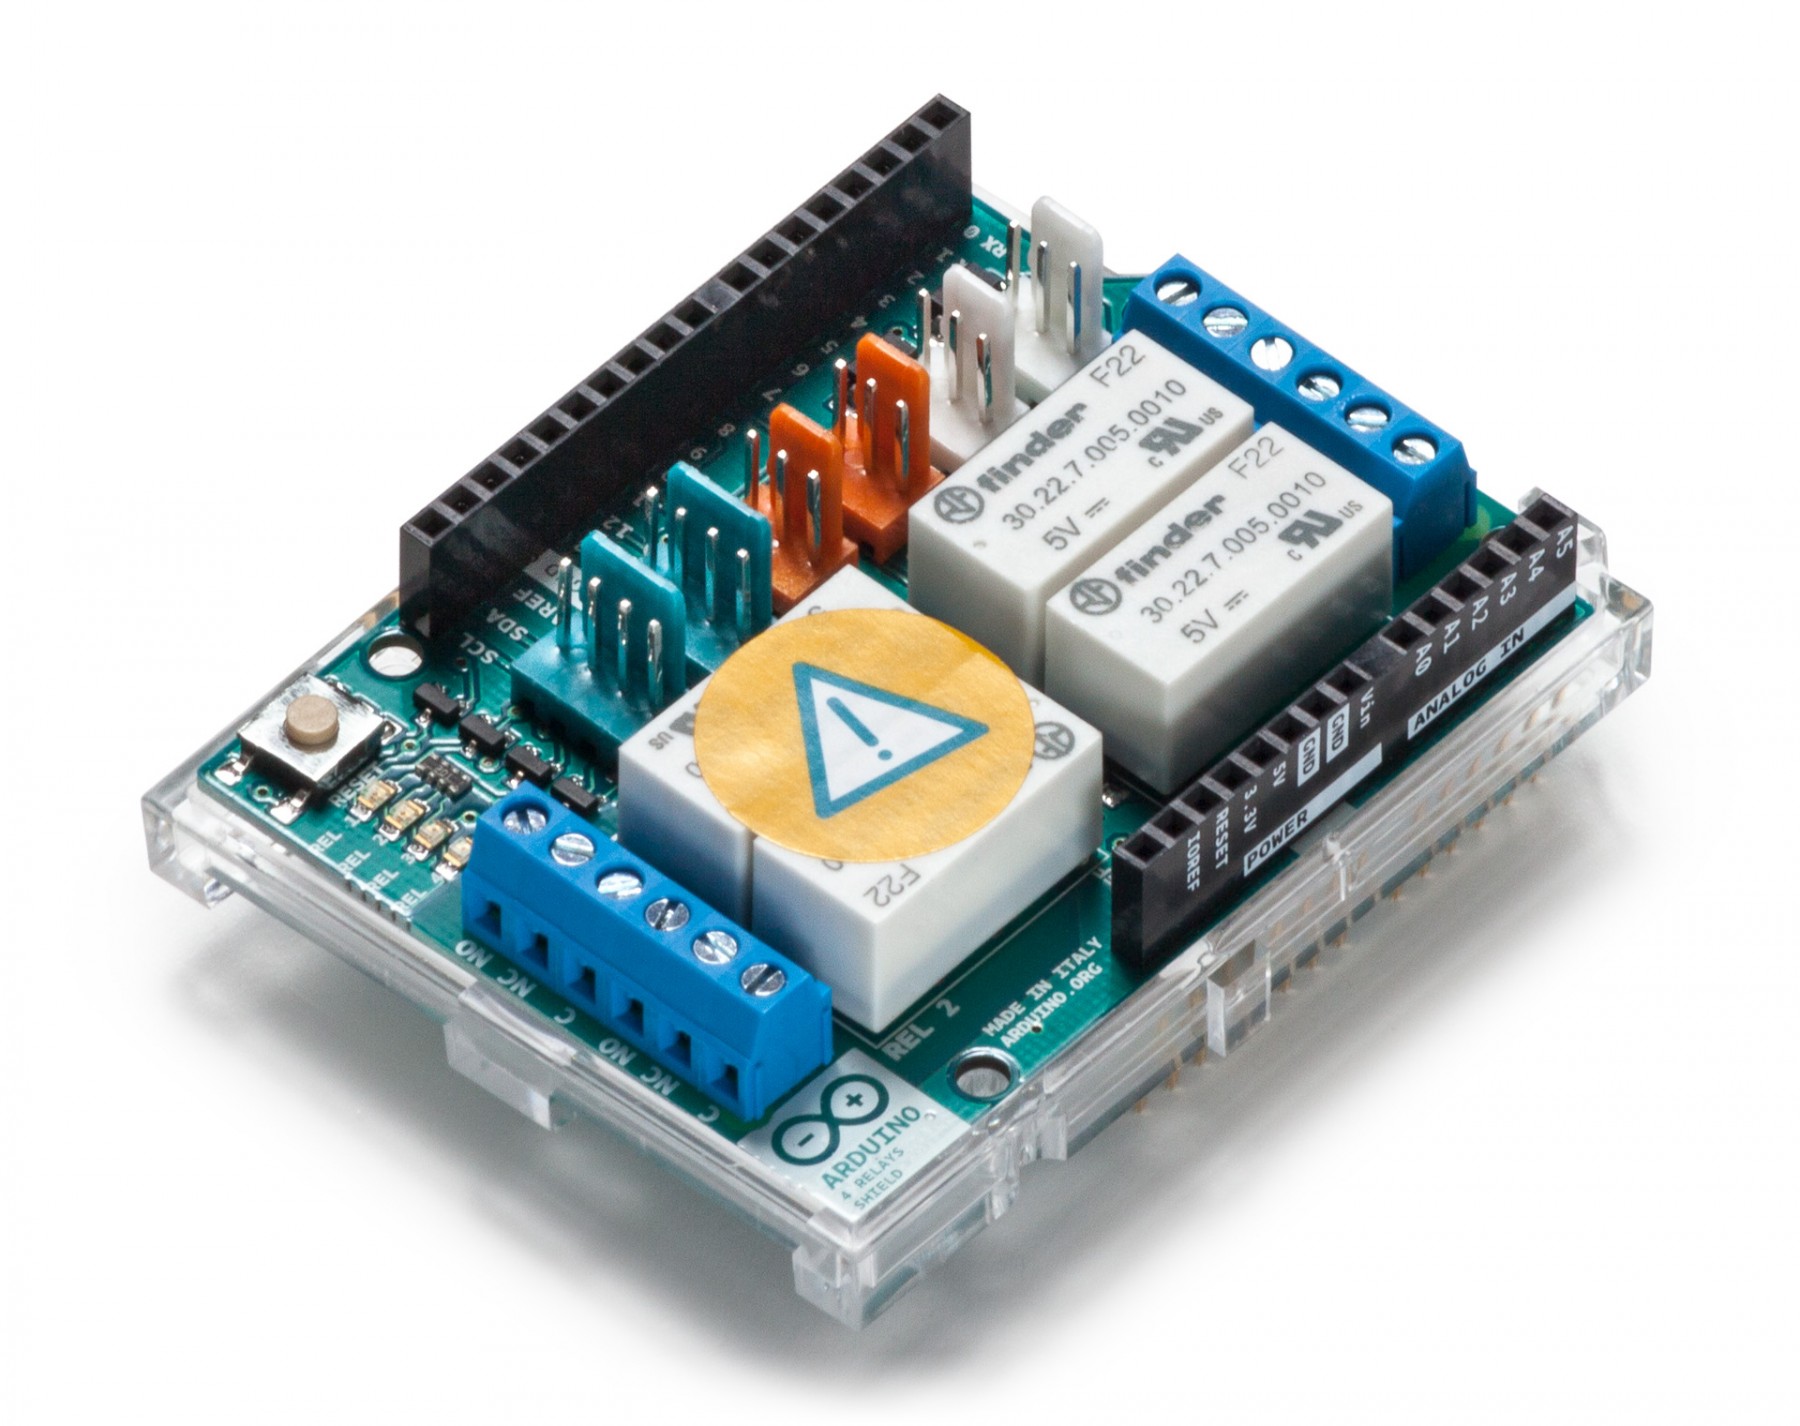
}The last task of our device is to release the sail. To do it we need to control the electromagnet, which we accomplish via a simple relay. There is no complicated logic here - we fix specific pins for output, then, when free fall is detected, just set those pins to HIGH, which energizes the relay - this, in turn, de-energizes the sail-release electromagnet.
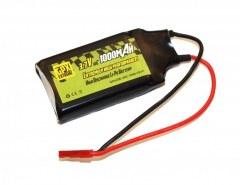
To test the device, we also needed some source of power, namely a battery, because tossing a device with a cable attached is quite cumbersome, and a cable socket can be easily damaged due to the drop.
And... this is how the tests looked like :)
The code:
https://github.com/softwaremill/pwsat-droptower
List of equipment:
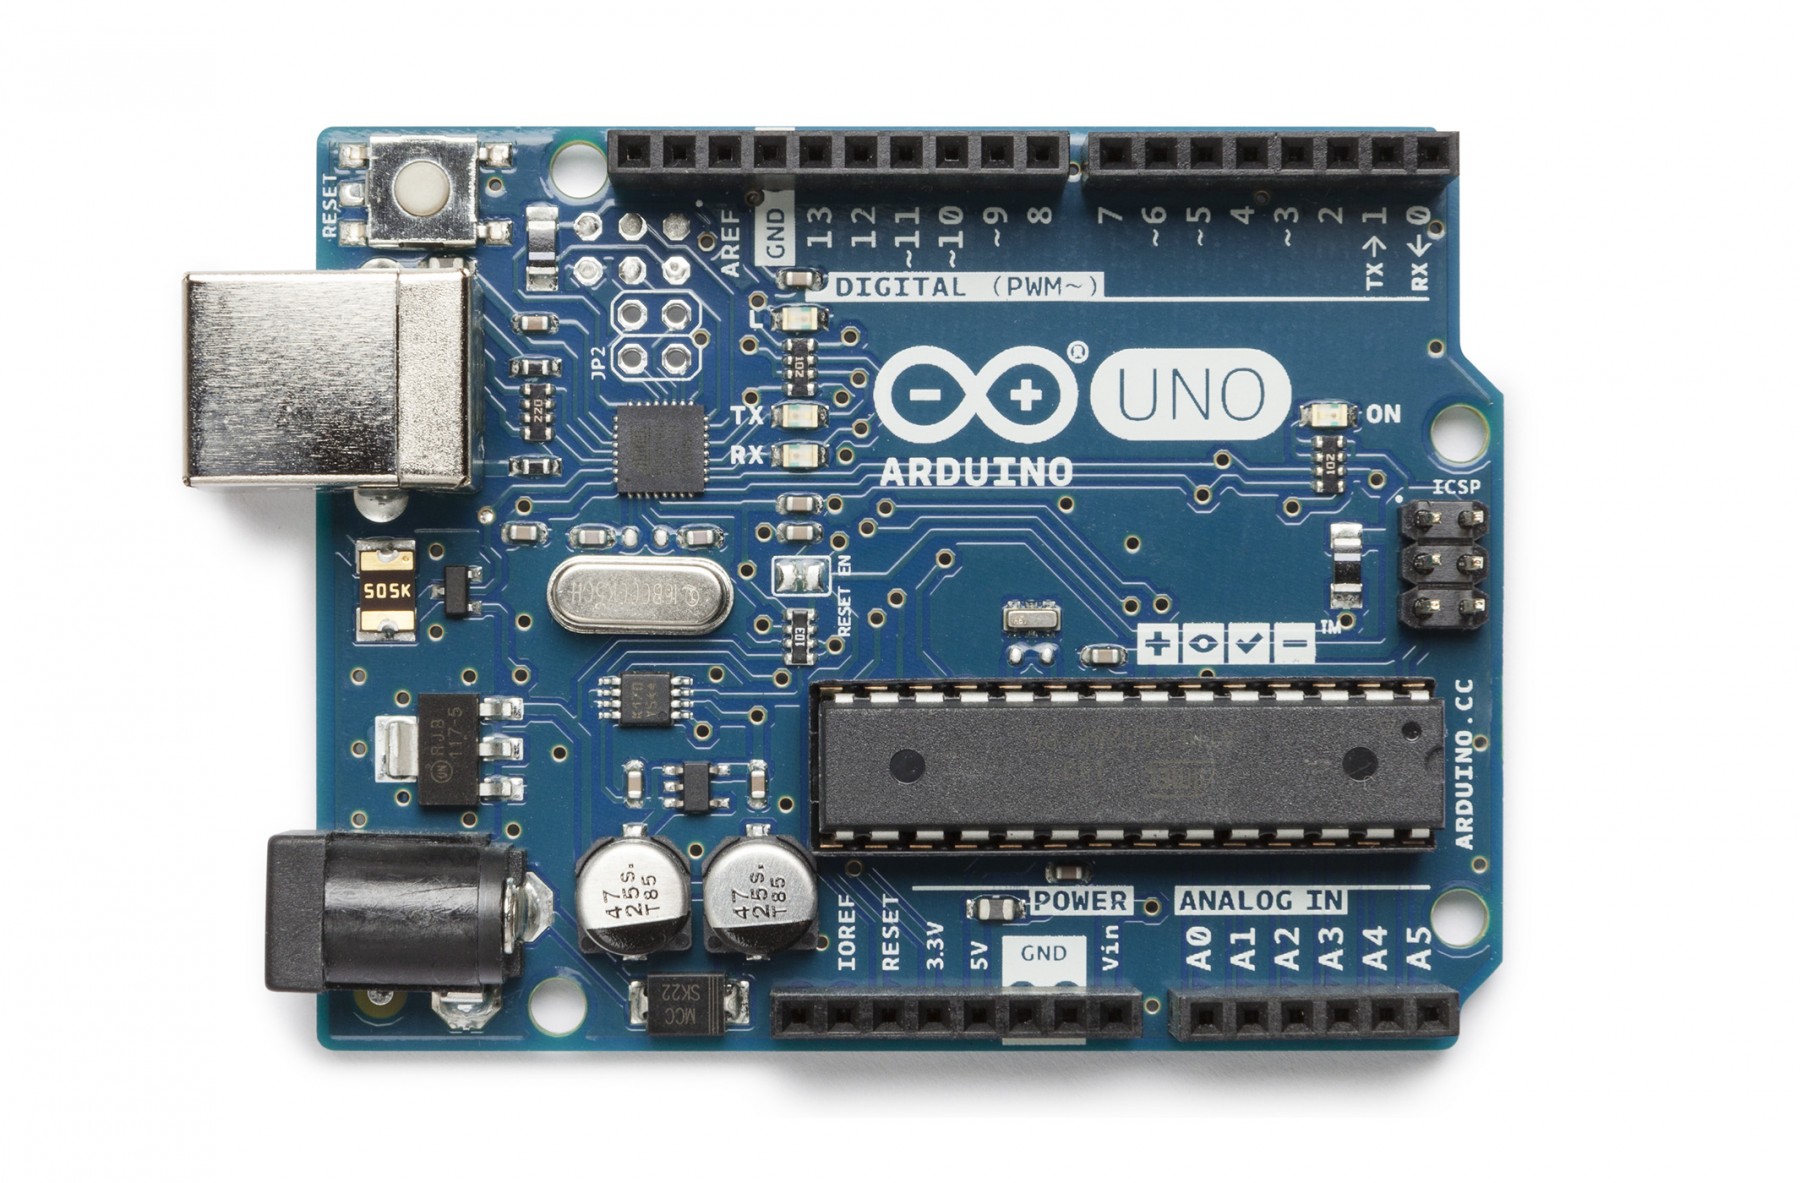
Arduino UNO (https://botland.com.pl/arduino-moduly-glowne/1060-arduino-uno-r3.html?search_query=arduino+uno&results=344)
ADXL345 accelerometer (https://botland.com.pl/akcelerometry-moduly/1912-adxl345-3-osiowy-akcelerometr-cyfrowy-i2c-spi-modul.html?search_query=adxl345&results=3)
Relay shield (e.g. https://botland.com.pl/arduino-shield-ekspandery-wyprowadzen/4243-arduino-4-relay-shield-4-przekazniki-30v2a.html)
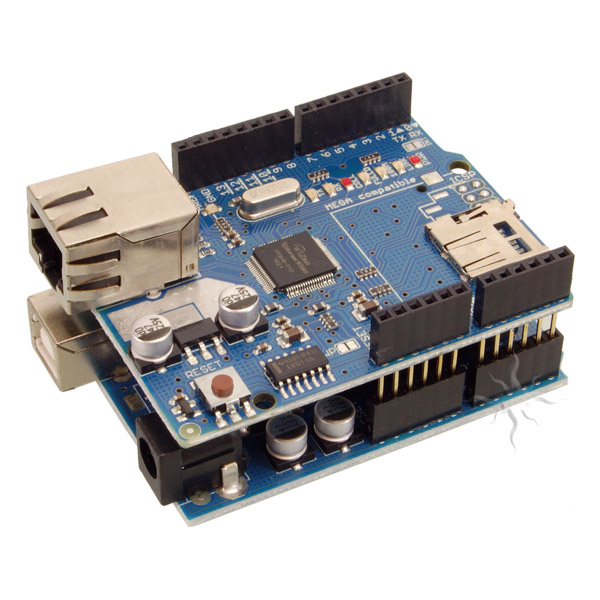
Arduino Ethernet Shield (e.g. https://botland.com.pl/arduino-shield-komunikacja/3779-ethernet-shield-dla-arduino-z-czytnikiem-kart-microsd.html)
or SD card adapter
Optional:
LiPol Battery (e.g. https://botland.com.pl/akumulatory-li-pol-1s-37v-/3313-pakiet-li-pol-gpx-extreme-1000mah-30c-1s-37v.html)
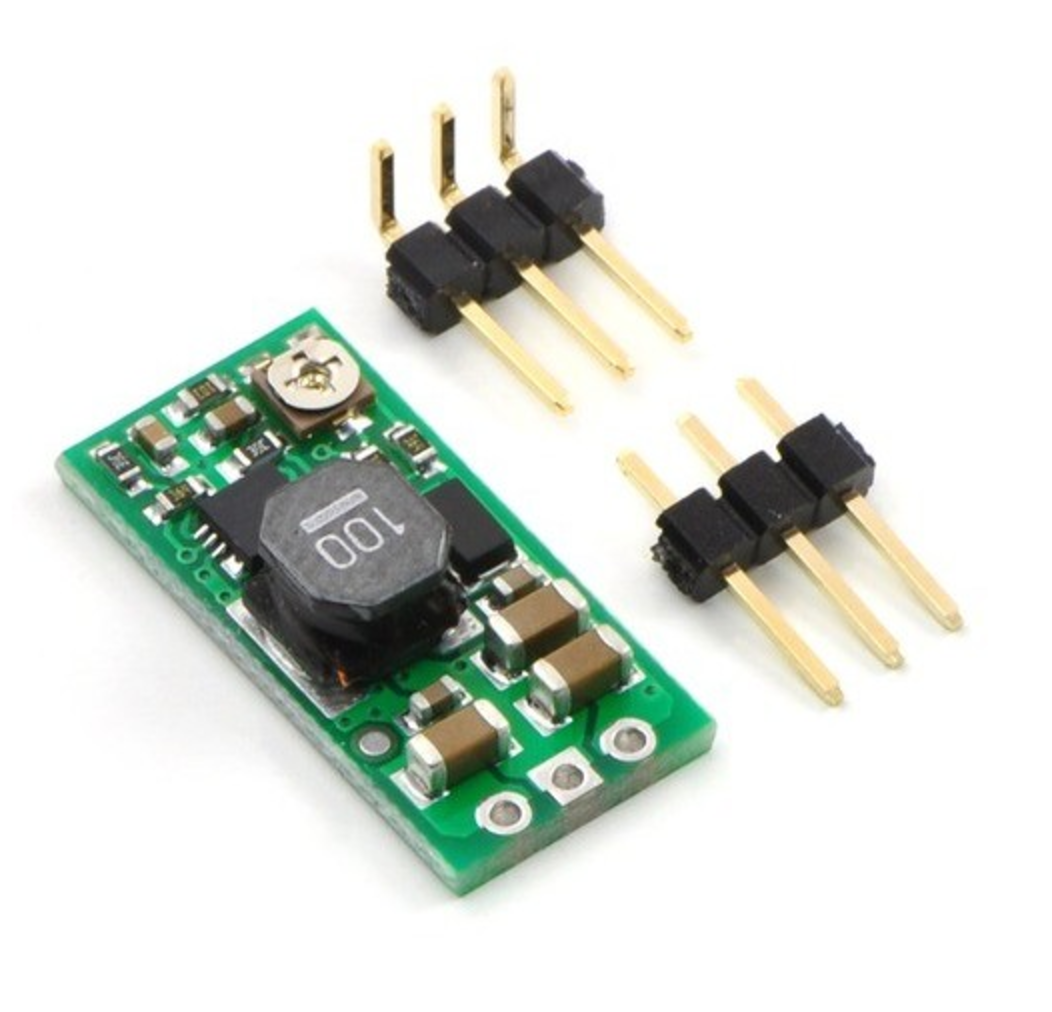
Boost Converter (e.g. https://botland.com.pl/przetwornice-impulsowe/1425-przetwornica-regulowana-25v-95v-2a.html)
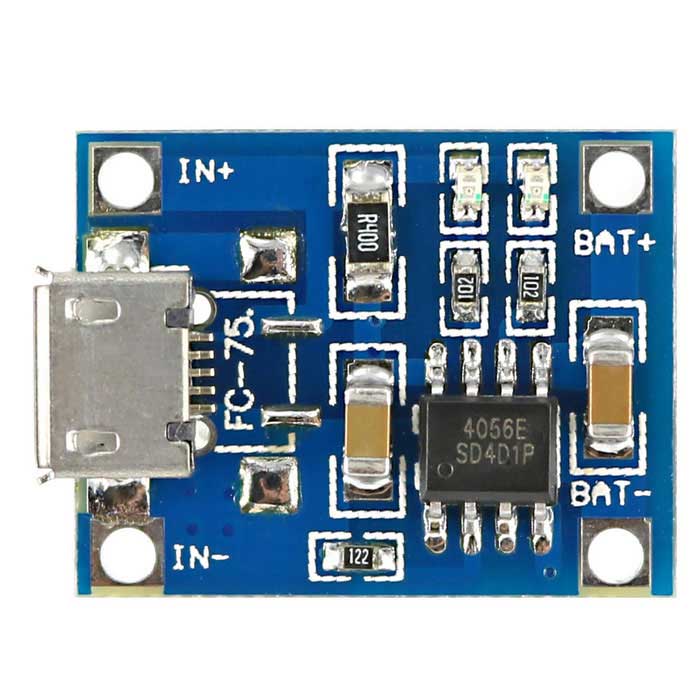
Micro USB LiPol Charger (e.g. https://botland.com.pl/ladowarki-lipol-moduly/6944-ladowarka-li-pol-tp4056-pojedyncza-cela-1s-37v-microusb-z-zabezpieczeniami.html)
Assembly:
Shield connections
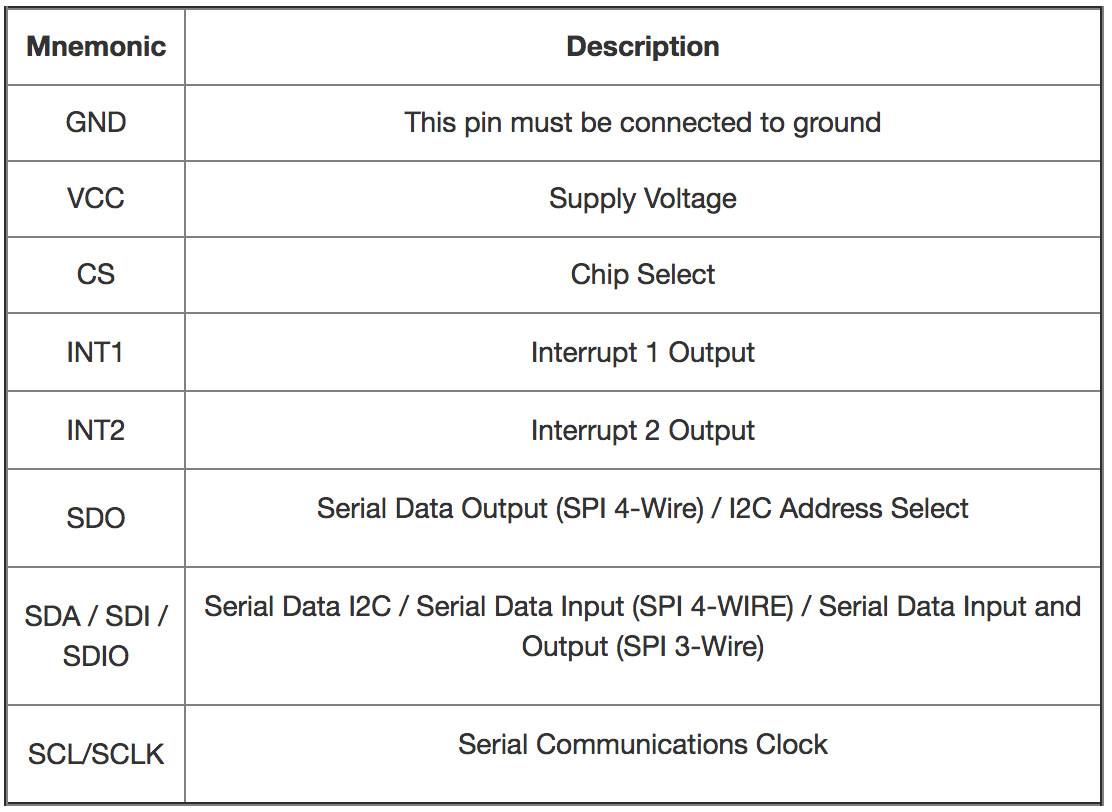
ADXL345 Pin Layout
ADXL345 Connection Layout
We connect the ADXL345 sensor using I2C bus. For this you need to follow the instructions below:
- ADXL345 GND -> Arduino GND
- ADXL345 VCC -> Arduino 5V
- ADXL345 CS -> Arduino 3.3V
- ADXL345 SDO -> Arduino GND
- ADXL345 SDA -> Arduino A4
- ADXL345 SCL -> Arduino A5